I've been exceptionally fortunate in my life to have grown up with a dad who put a high value on being industrious and building things, and I really learned my love of making when I was growing up and helping him with various house and construction projects. He turned 60 earlier this year, and I wanted to show my appreciation for instilling this passion in me. He's also a bit of an audiophile, and recently unboxed his old records and has been spinning vinyl again the last few years. So I decided to build him a turntable.

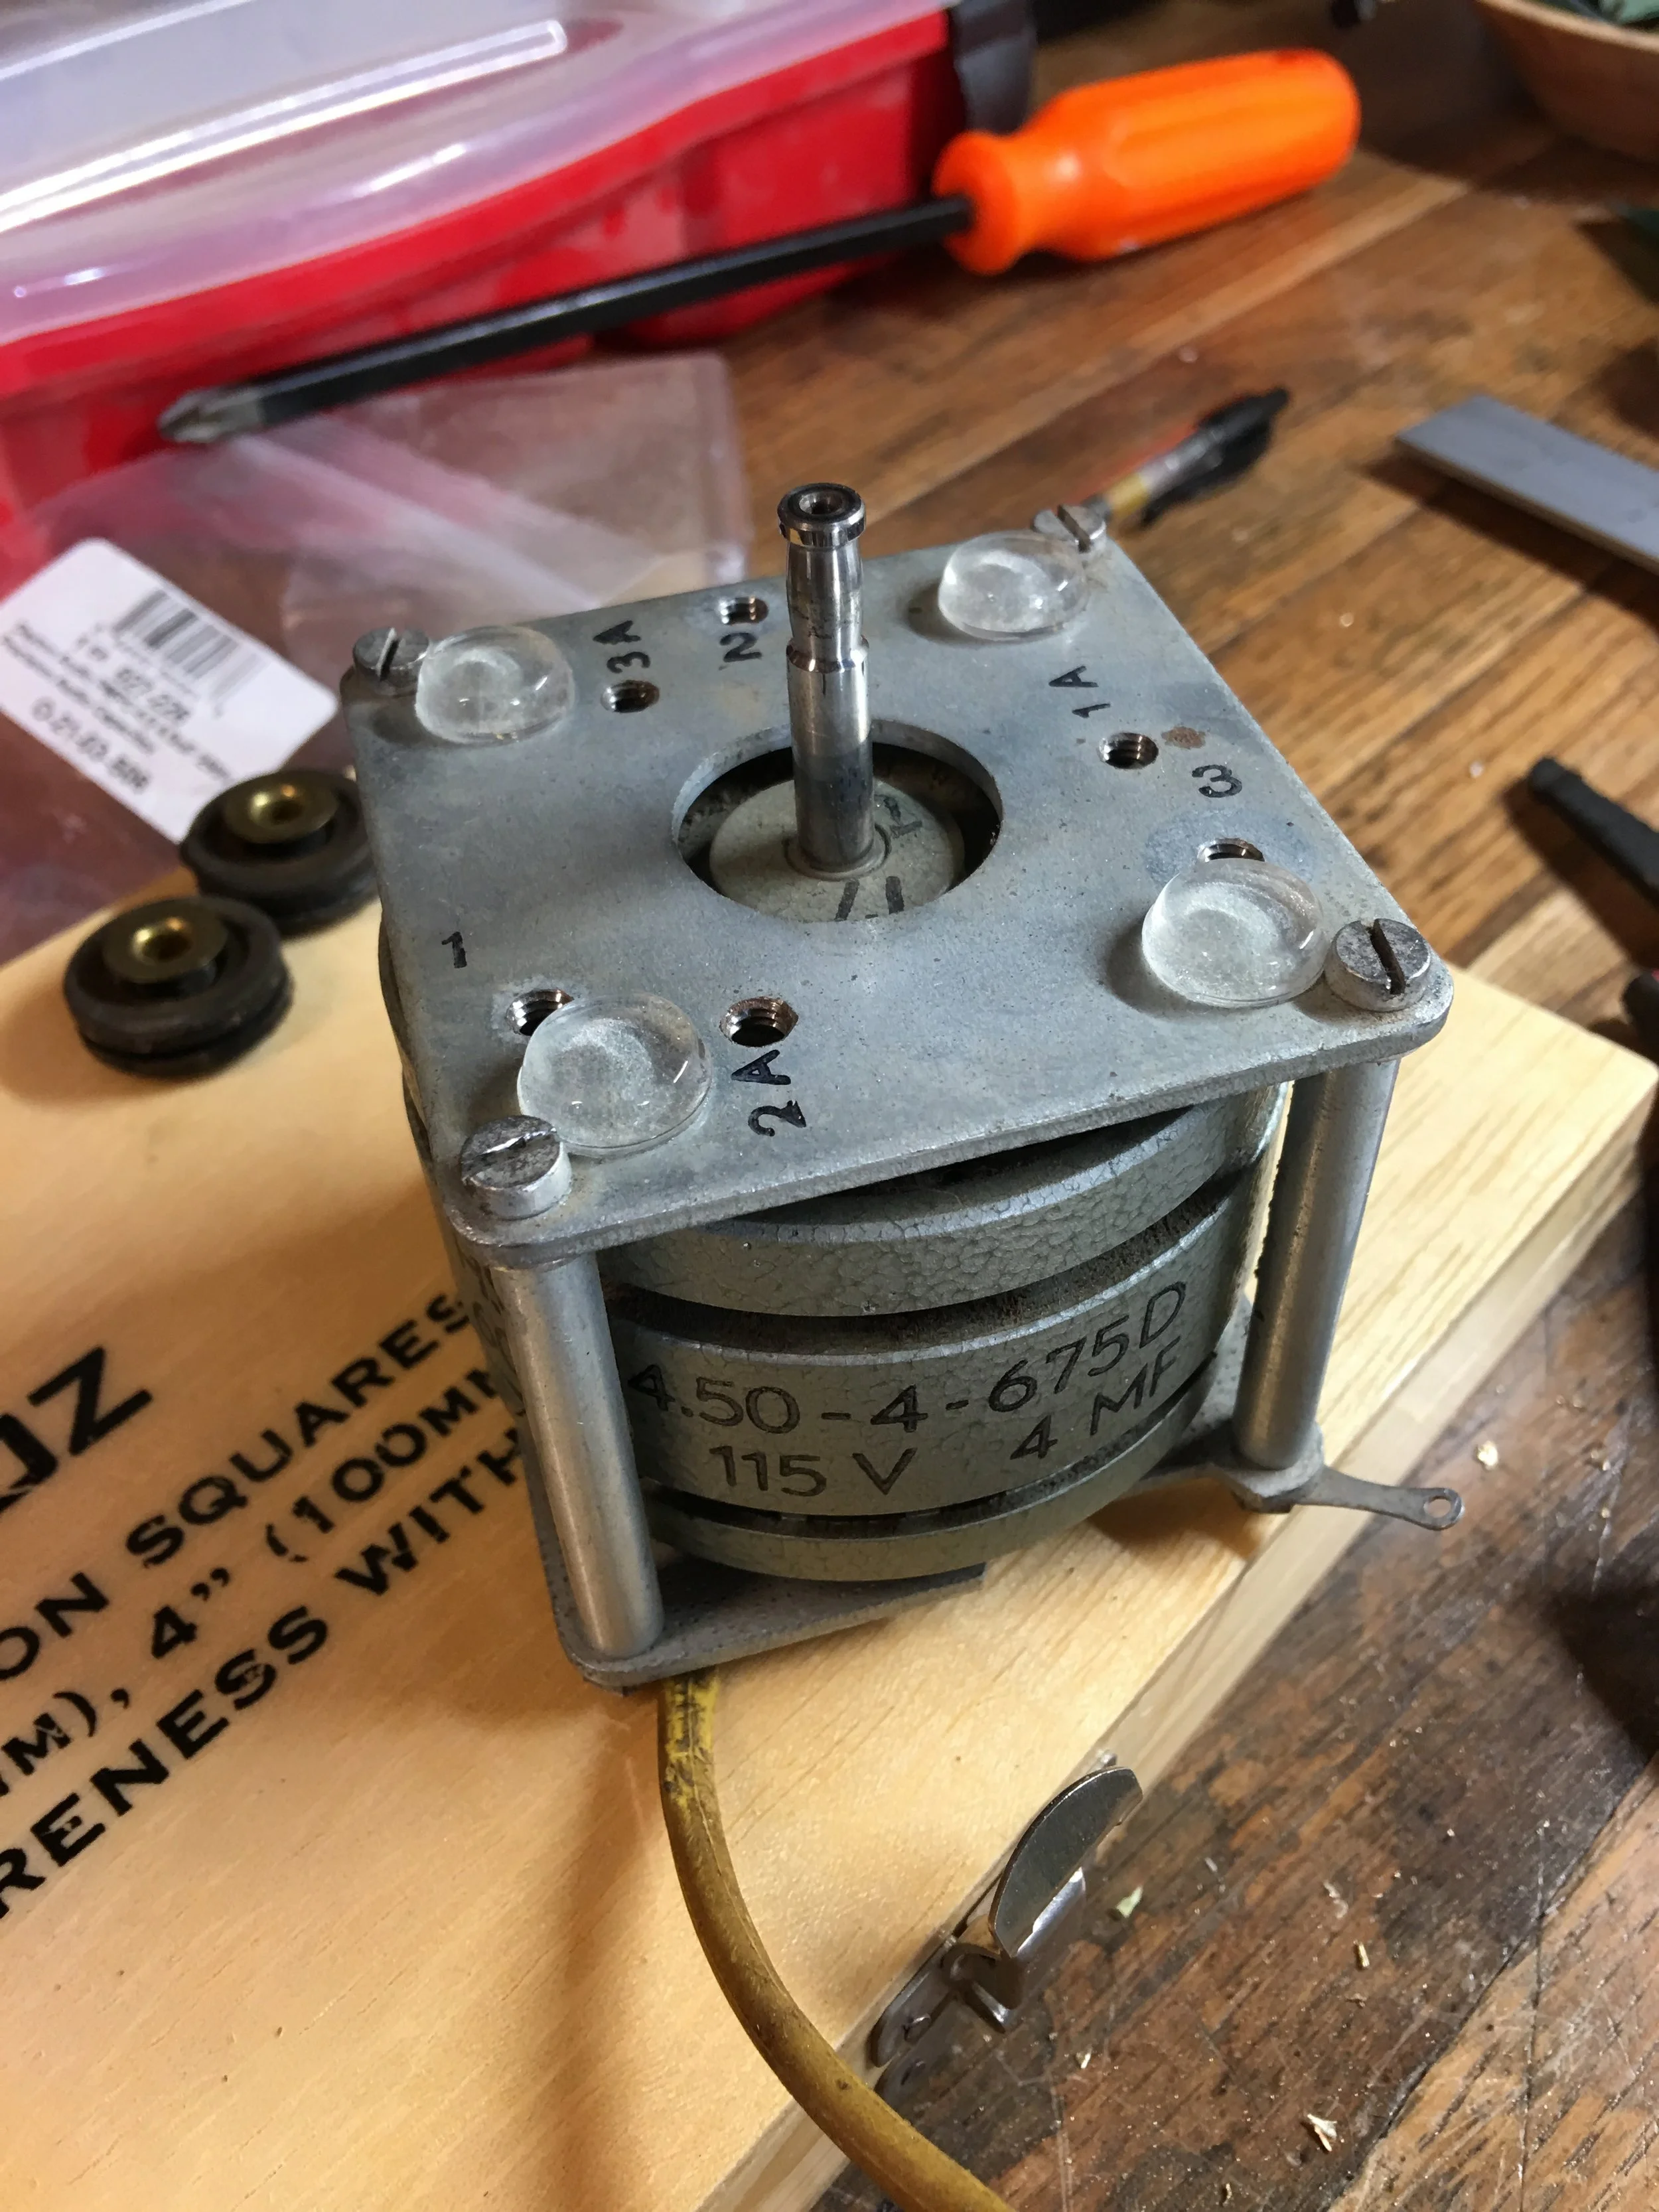
This project really started about two years ago, when I happened to be browsing my local Craigslist and came across a partial kit for a Rek-O-Kut K33H turntable - mostly parts and pieces from the motor, platter and some of the electronics, without a tonearm. This particular table has an infamously robust and silent synchronous-hysterics motor, as well as a massive bearing for the platter - it was these parts that I really wanted out of the kit. The seller was a physics professor at a University a few hours south from me, and he had a photo from its original life way back in the 50's. You can see the table in its original configuration at the bottom right of this old photo:

I had also, at this time, been scouring the internet for a decent piece of walnut burl that was affordable, and be roughly the dimensions of a plinth I had in mind. I happened to stumble across an ebay listing for what appeared to be a discarded piece of claro walnut stump that was about the right size. The pictures weren't super clear, but it was priced right and about the right size, so I bought it. I got the piece a few weeks later, and although it was difficult to see the grain because of the rough-cut faces, it seemed like it fit the bill. I wanted to do something sculptural with the table and sketched out some ideas directly onto the table one night while watching a movie with my wife.

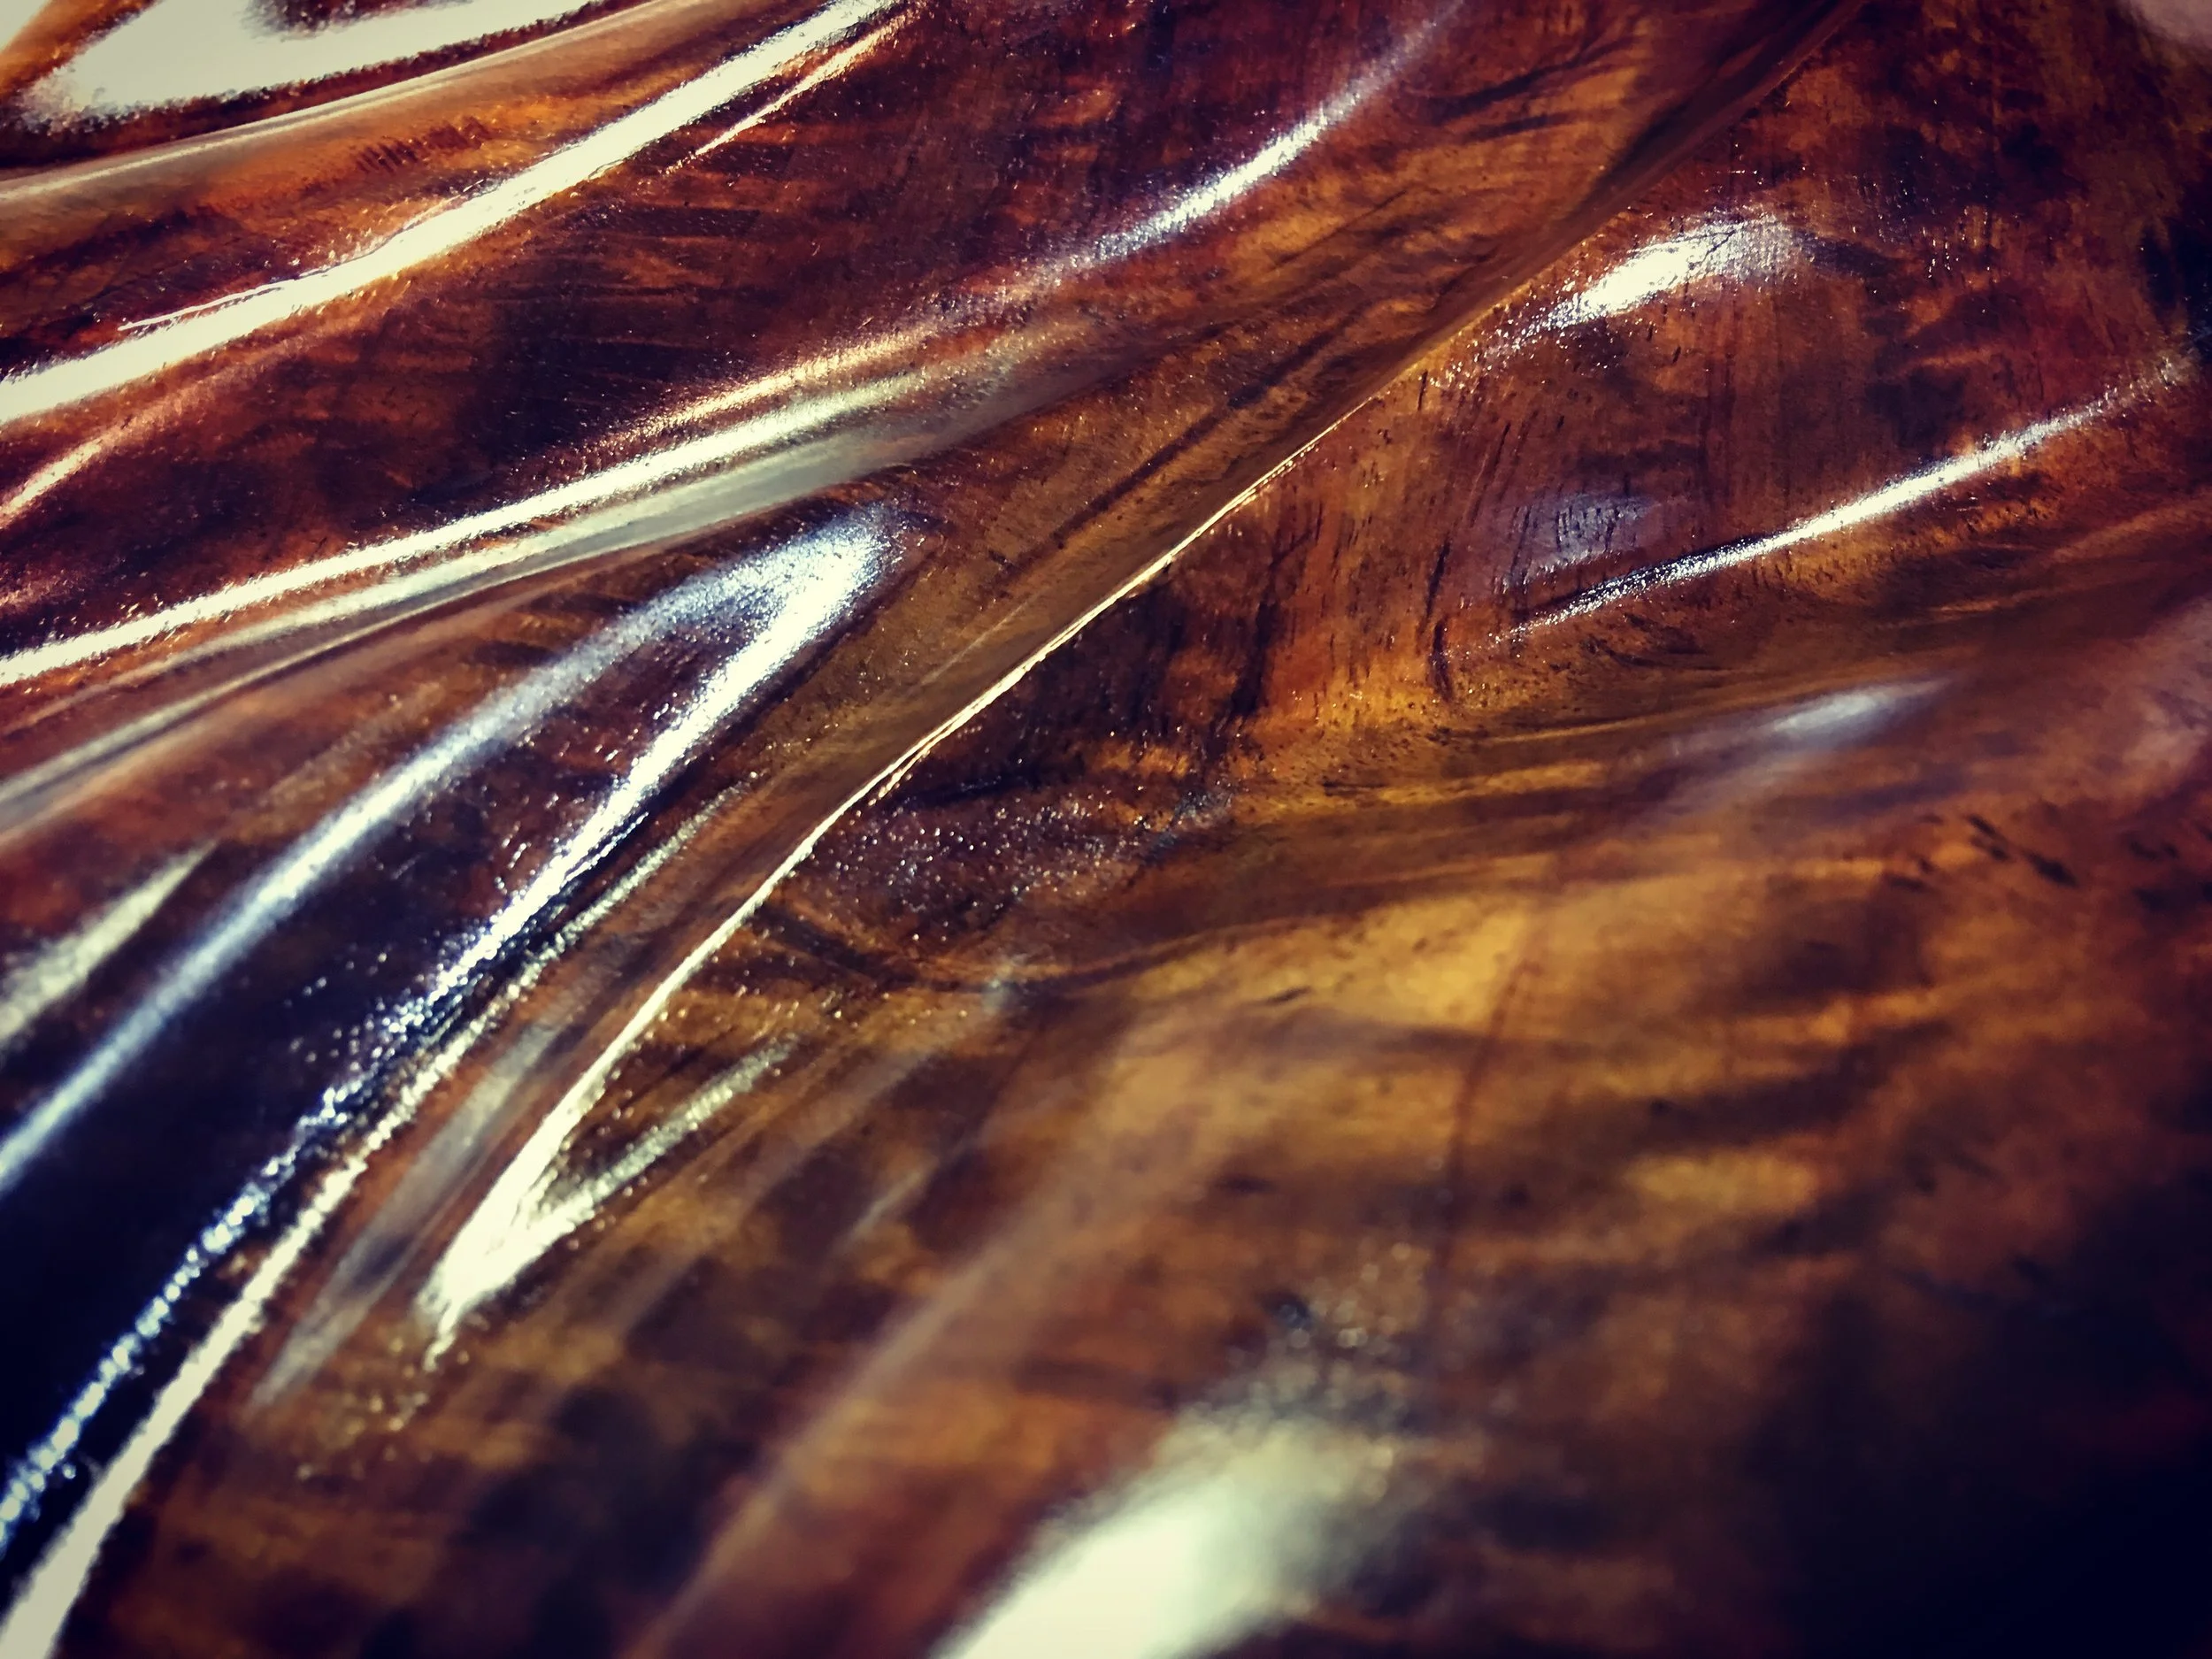
The edges of the table had these really interesting, textural remnants from where it was cut by a chainsaw. I decided to leave these marks and surfaces to celebrate their origin, and provide some contrast with what would ultimately be a very polished and glossy surface.
I've been interested in sculptural surfaces since I started woodworking almost 15 years ago, and I've used hand tools, power tools and digital tools to sculpt surfaces before; I decided to use a combination of both digital modelling and analogue modelling for this project, as some aspects of the design needed to be exceptionally precise. I used Z-Brush and Rhino to do the modelling in the computer, and had a local shop do the initial sculpting on their CNC to hog out the bulk of the waste in certain areas.
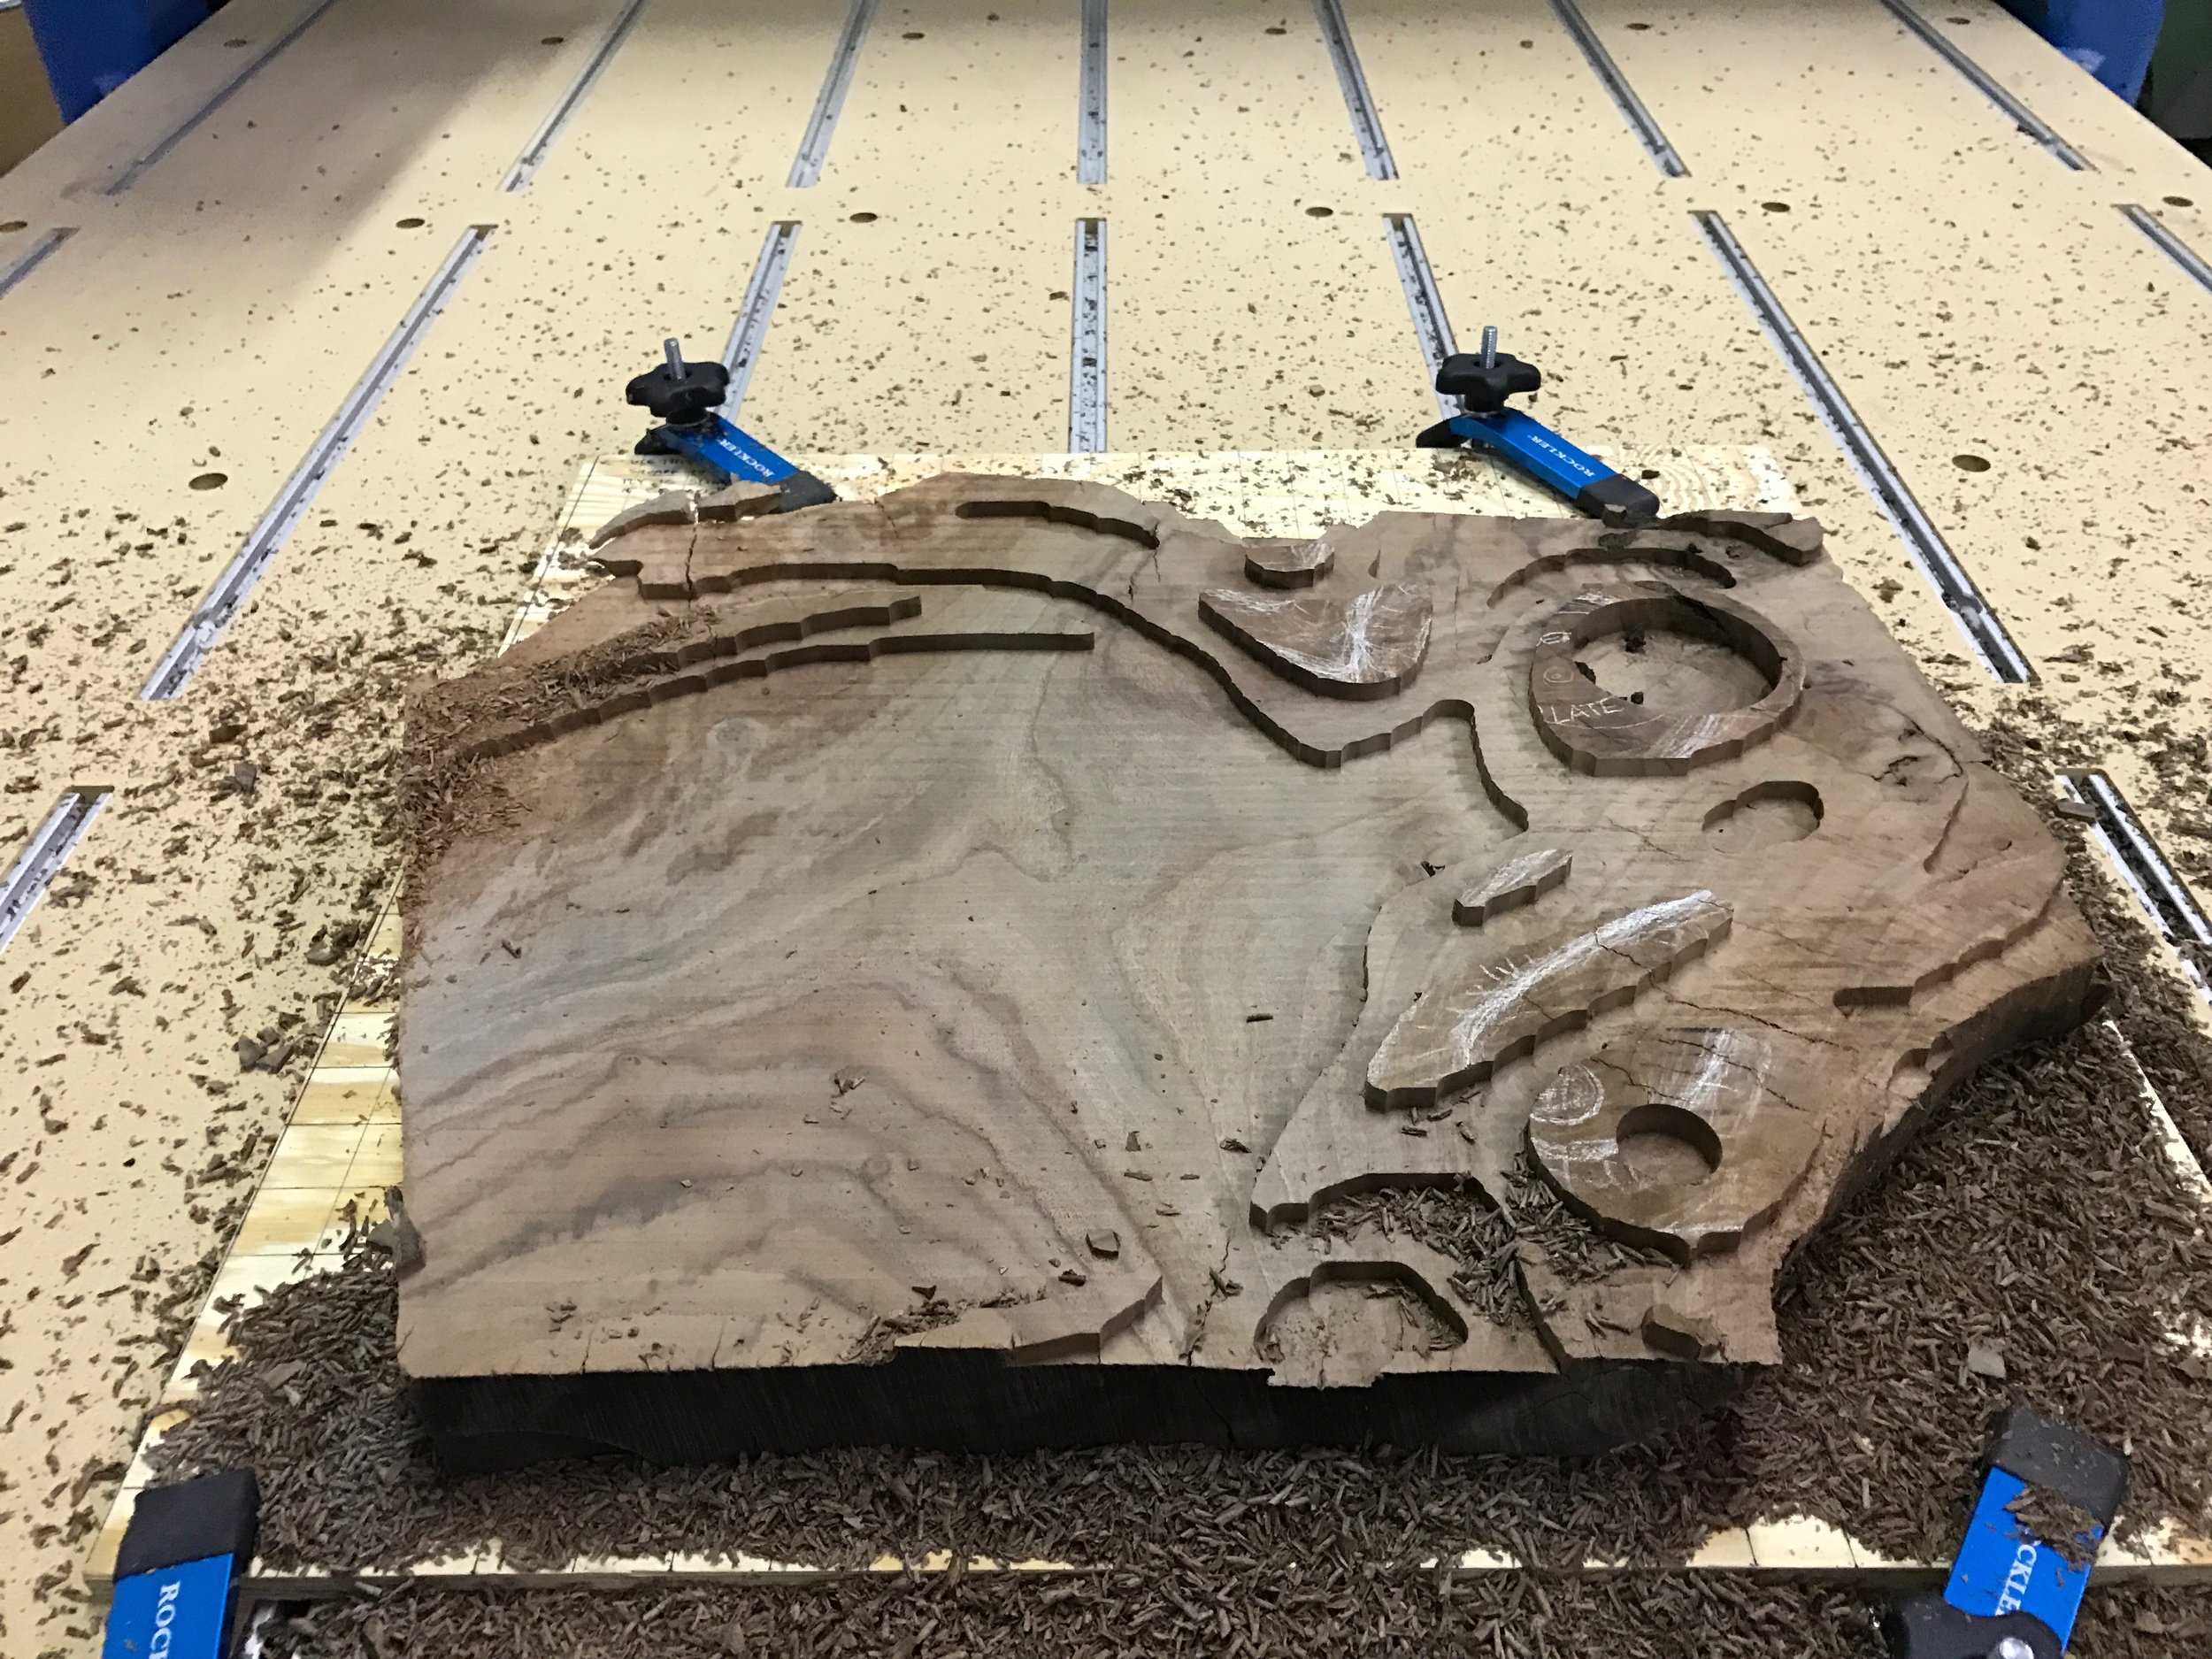
The surface of the CNC was decent - but I had really run up against the limitations of my digital 3D modelling skills (I was still learning ZBrush on the fly), and it felt like the surface needed some additional sculpting. So I busted out my angle grinder, attached a carving wheel and went to town.
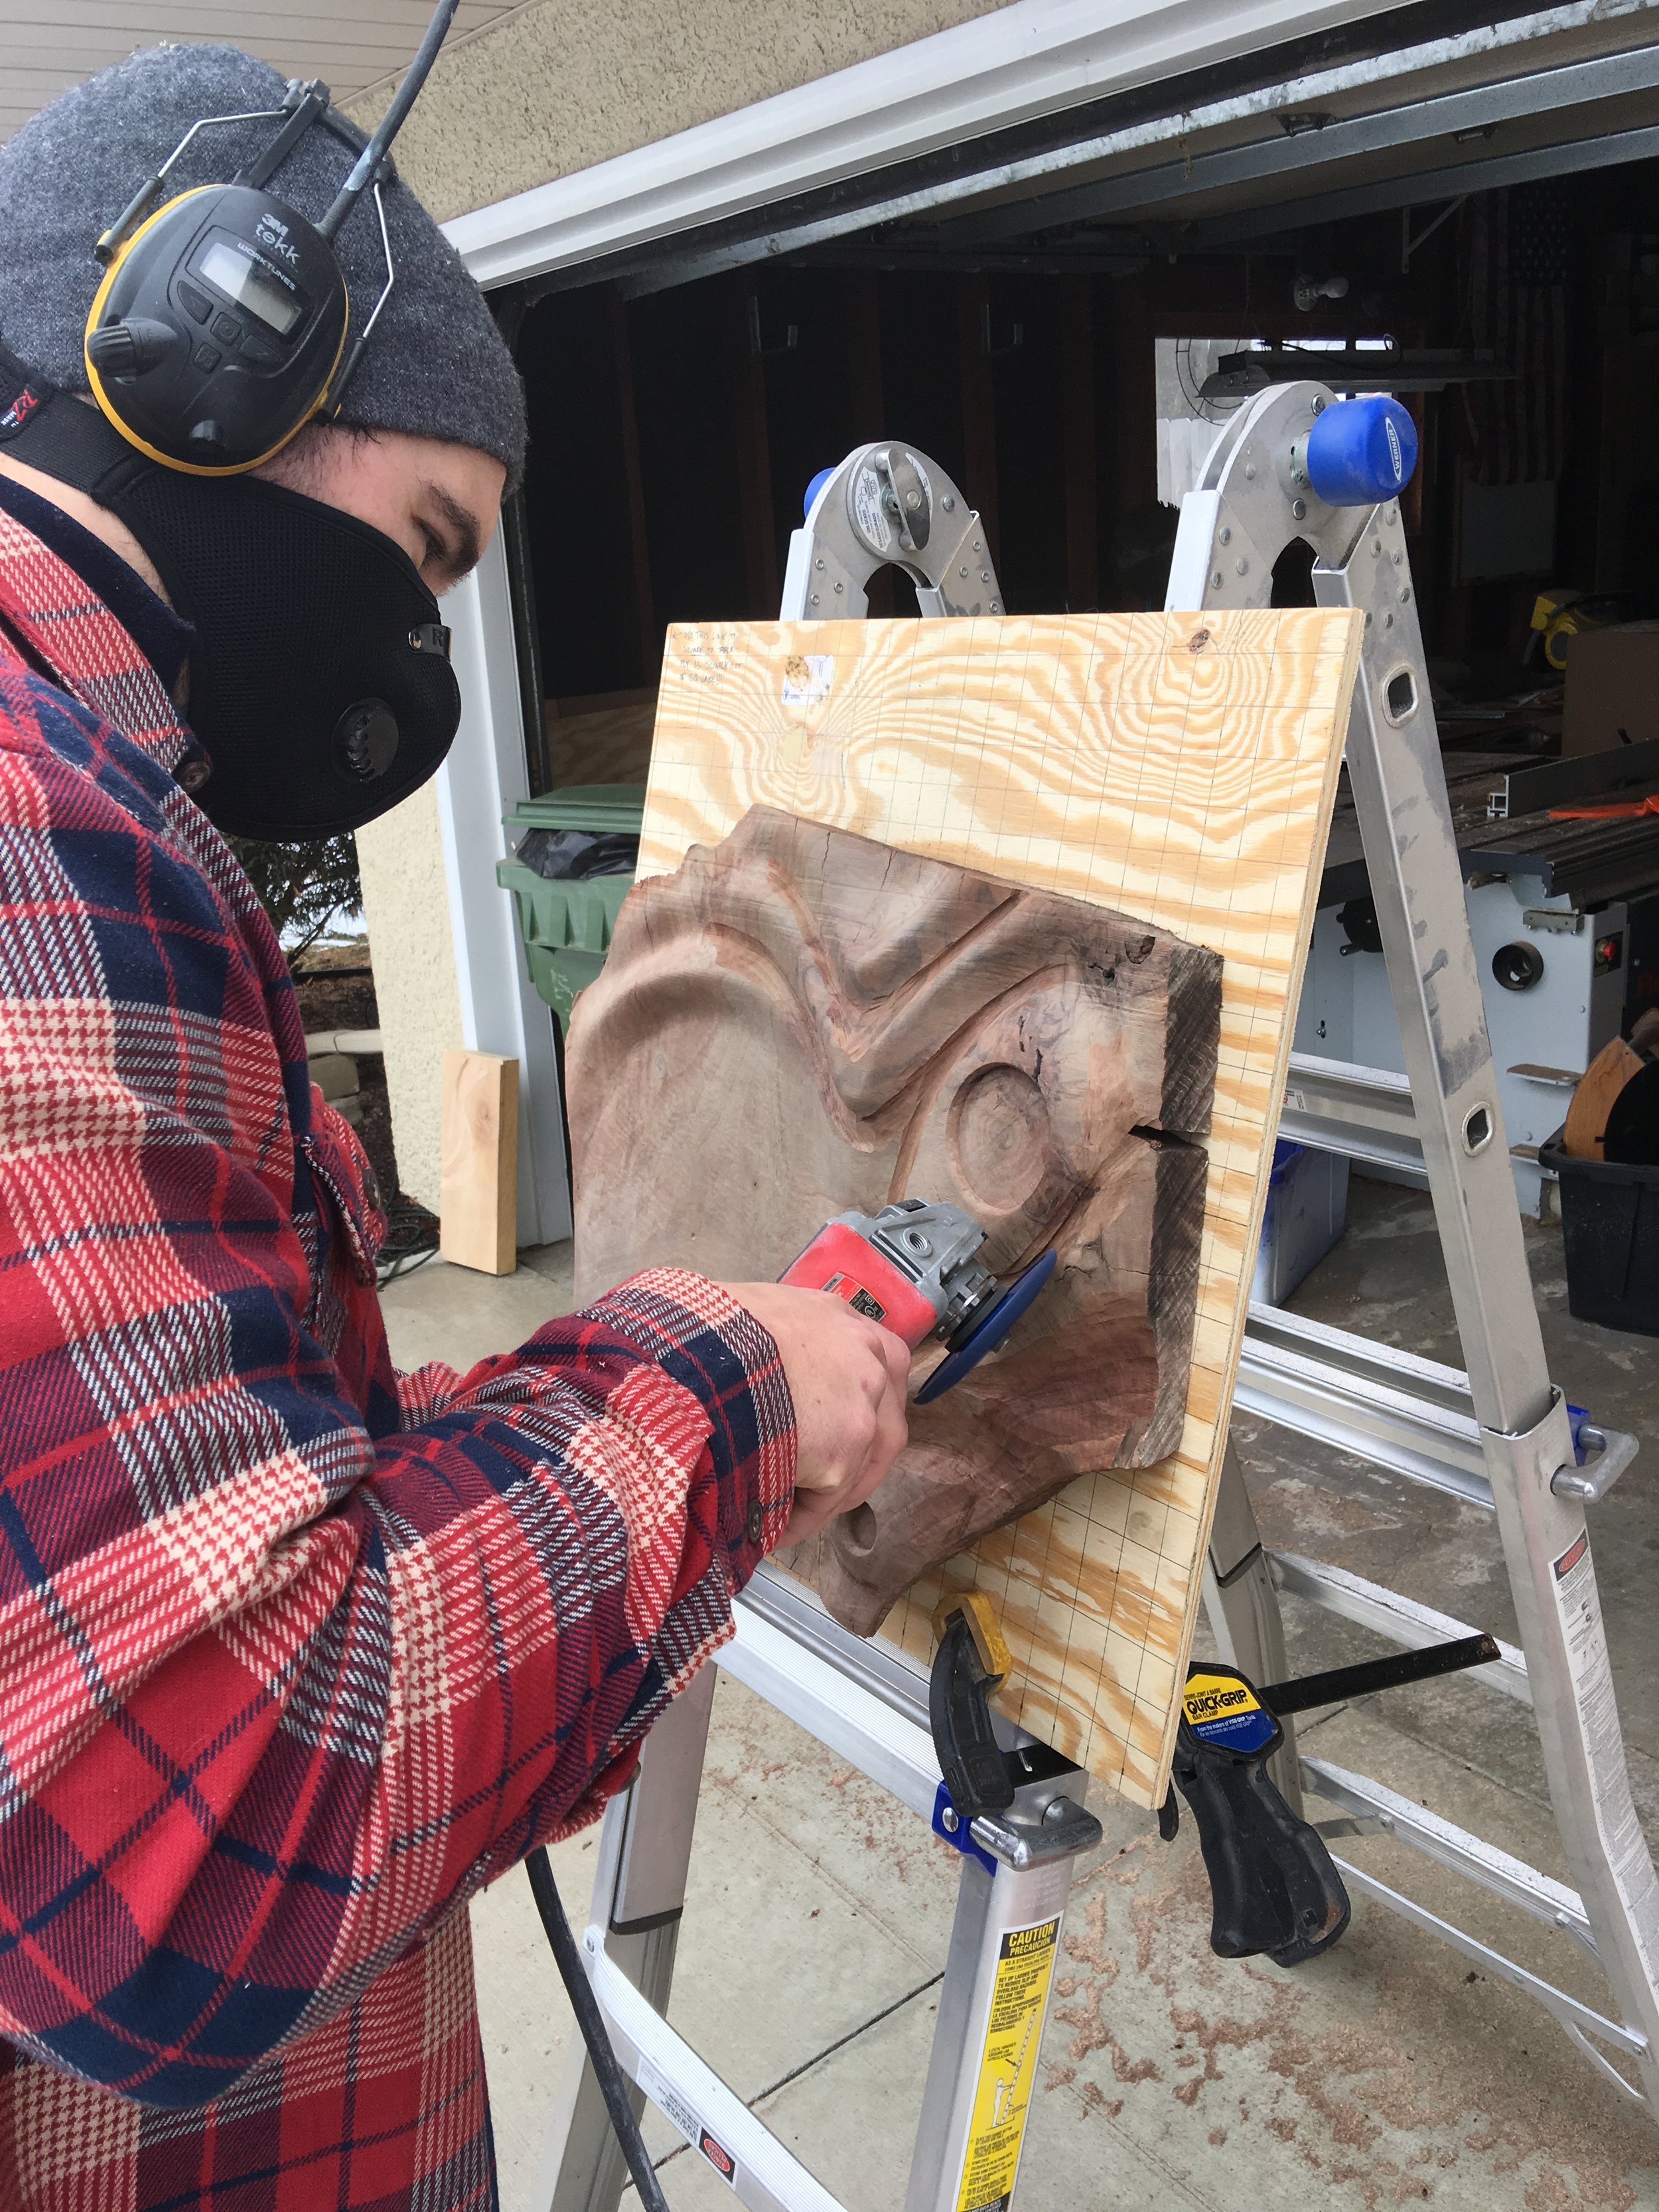
It was January / February in Minnesota when I decided to tackle this, and it was about 20 degrees Fahrenheit when I was sculpting, so it was pretty slow going as my hands would frequently go numb.

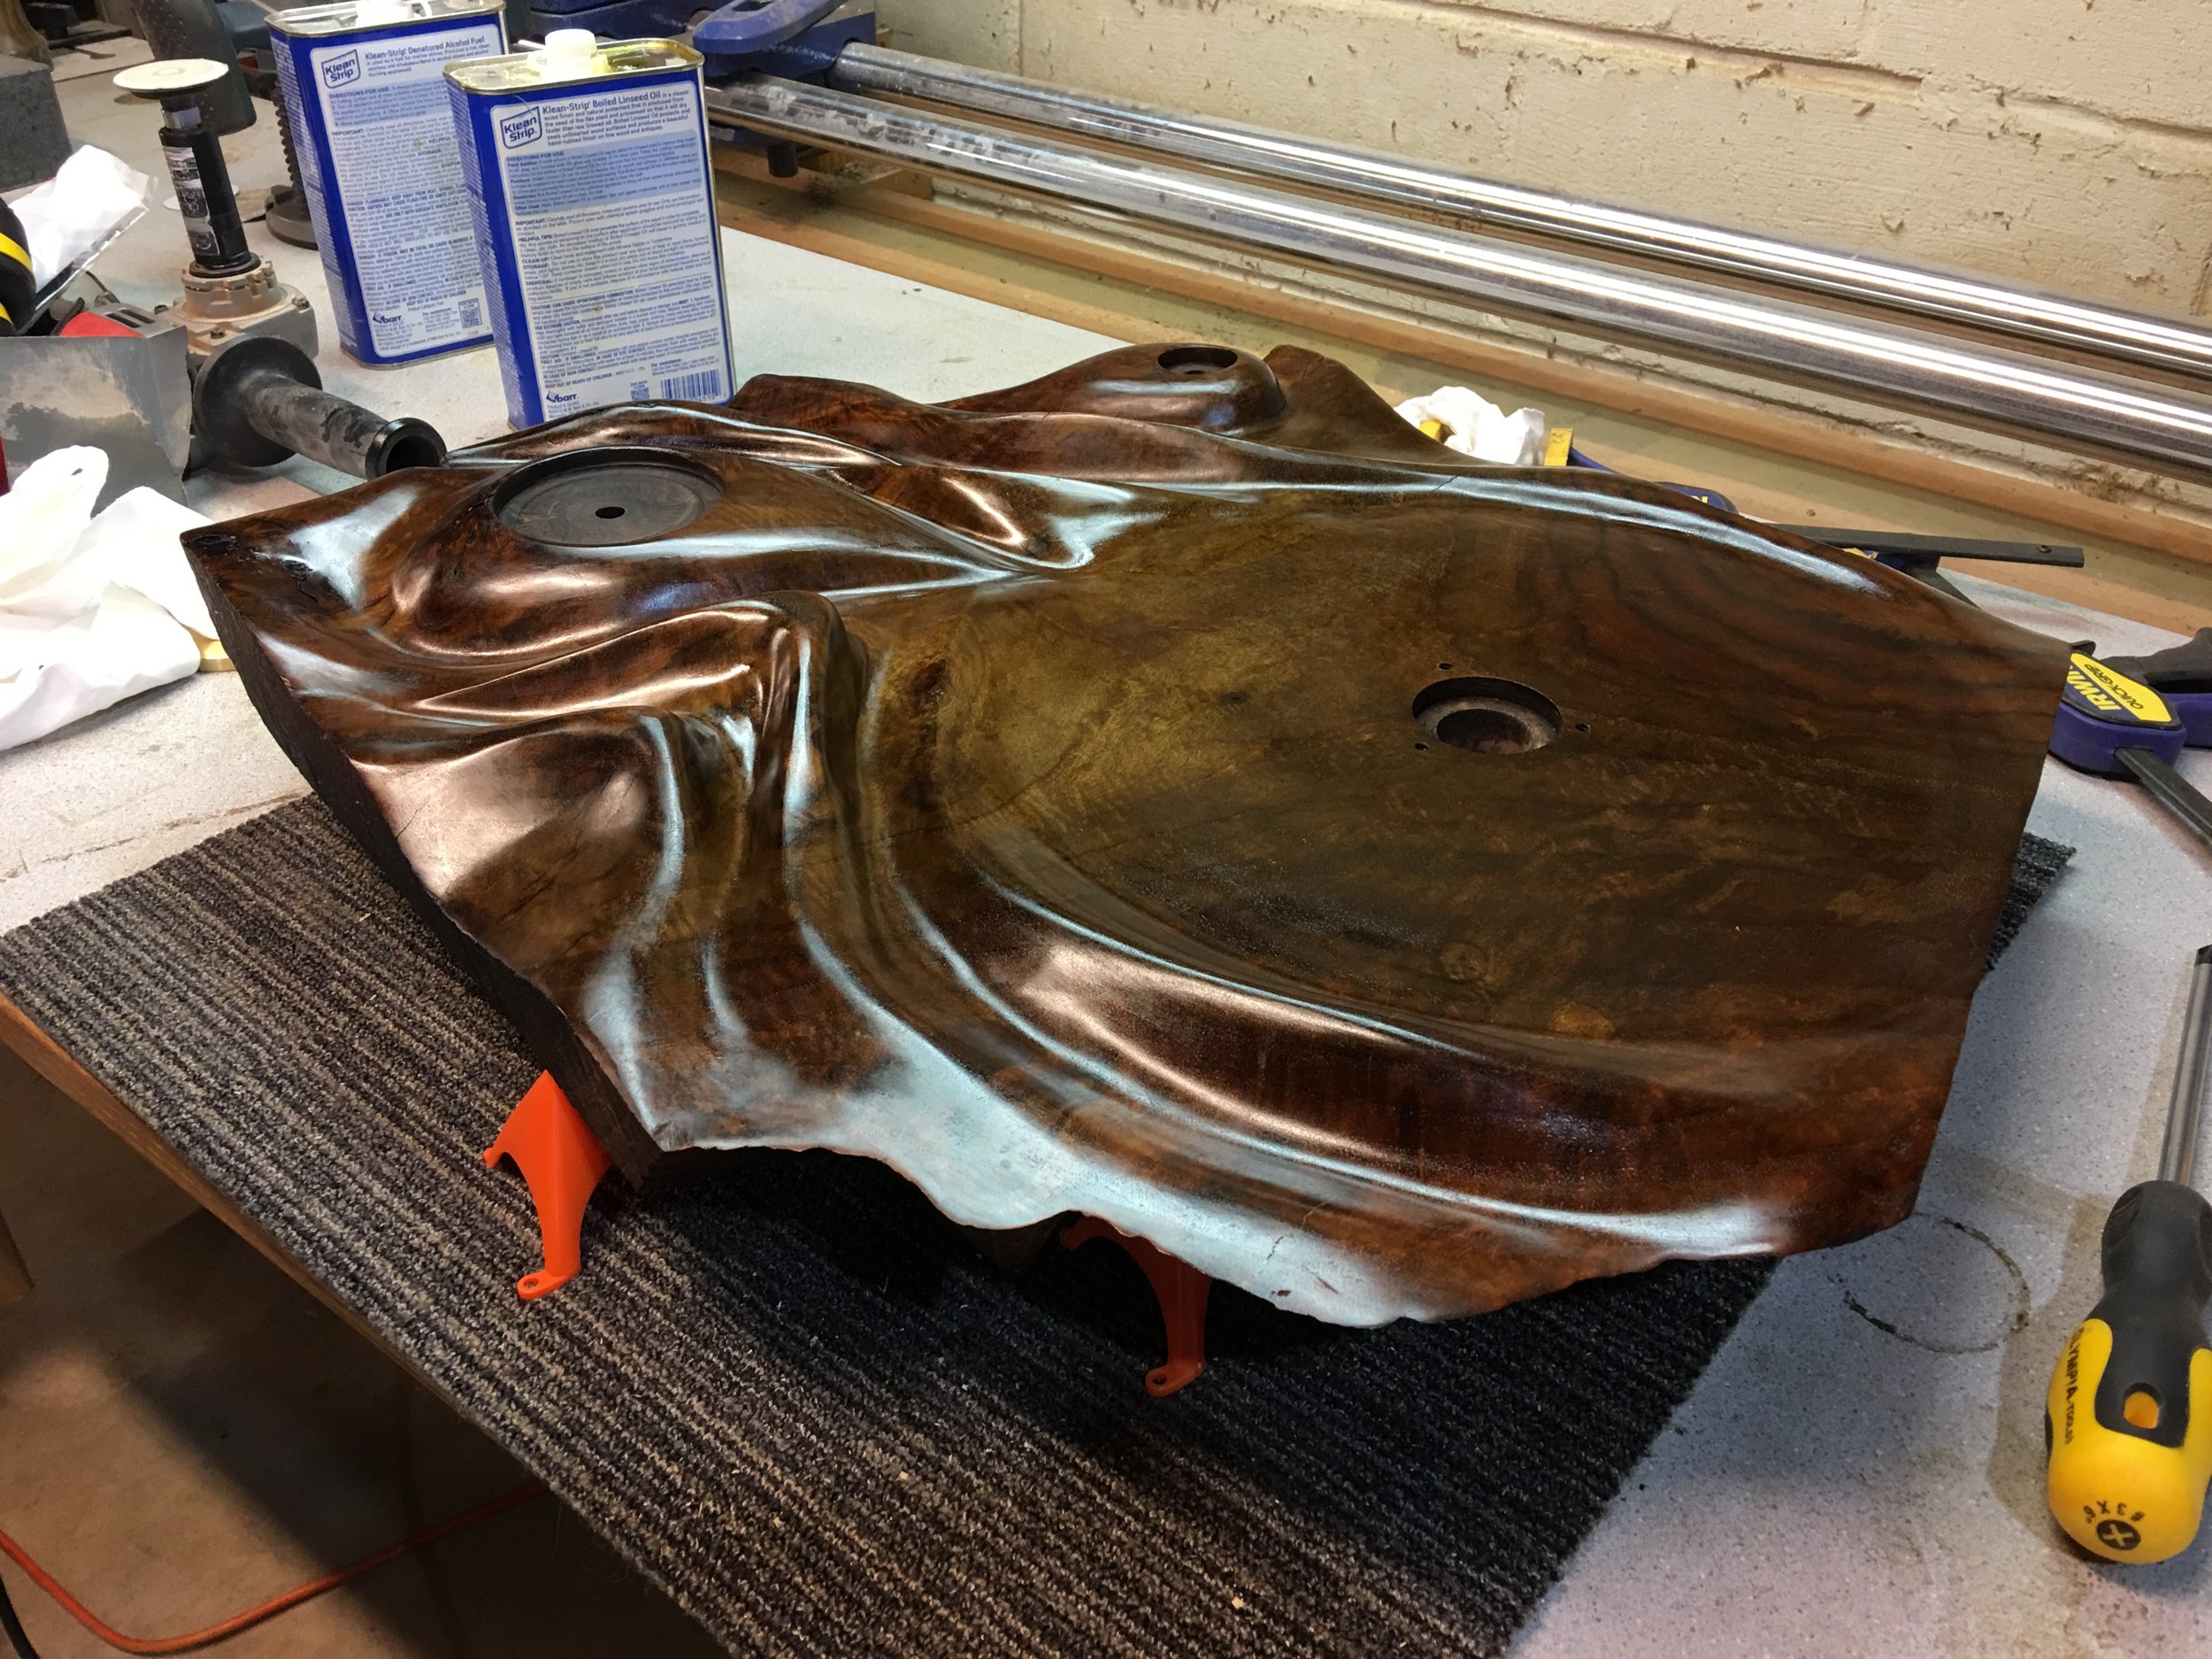
Above you can see the rough massing of the sculpted walnut base, with the Rek-O-Kut platter mocked up. Next up from here was sanding the base - for hours. And hours. And hours. I absolutely loathe sanding, but there's simply no way to cheat the process - if you skimp on sanding, it is apparent immediately in the finished product.
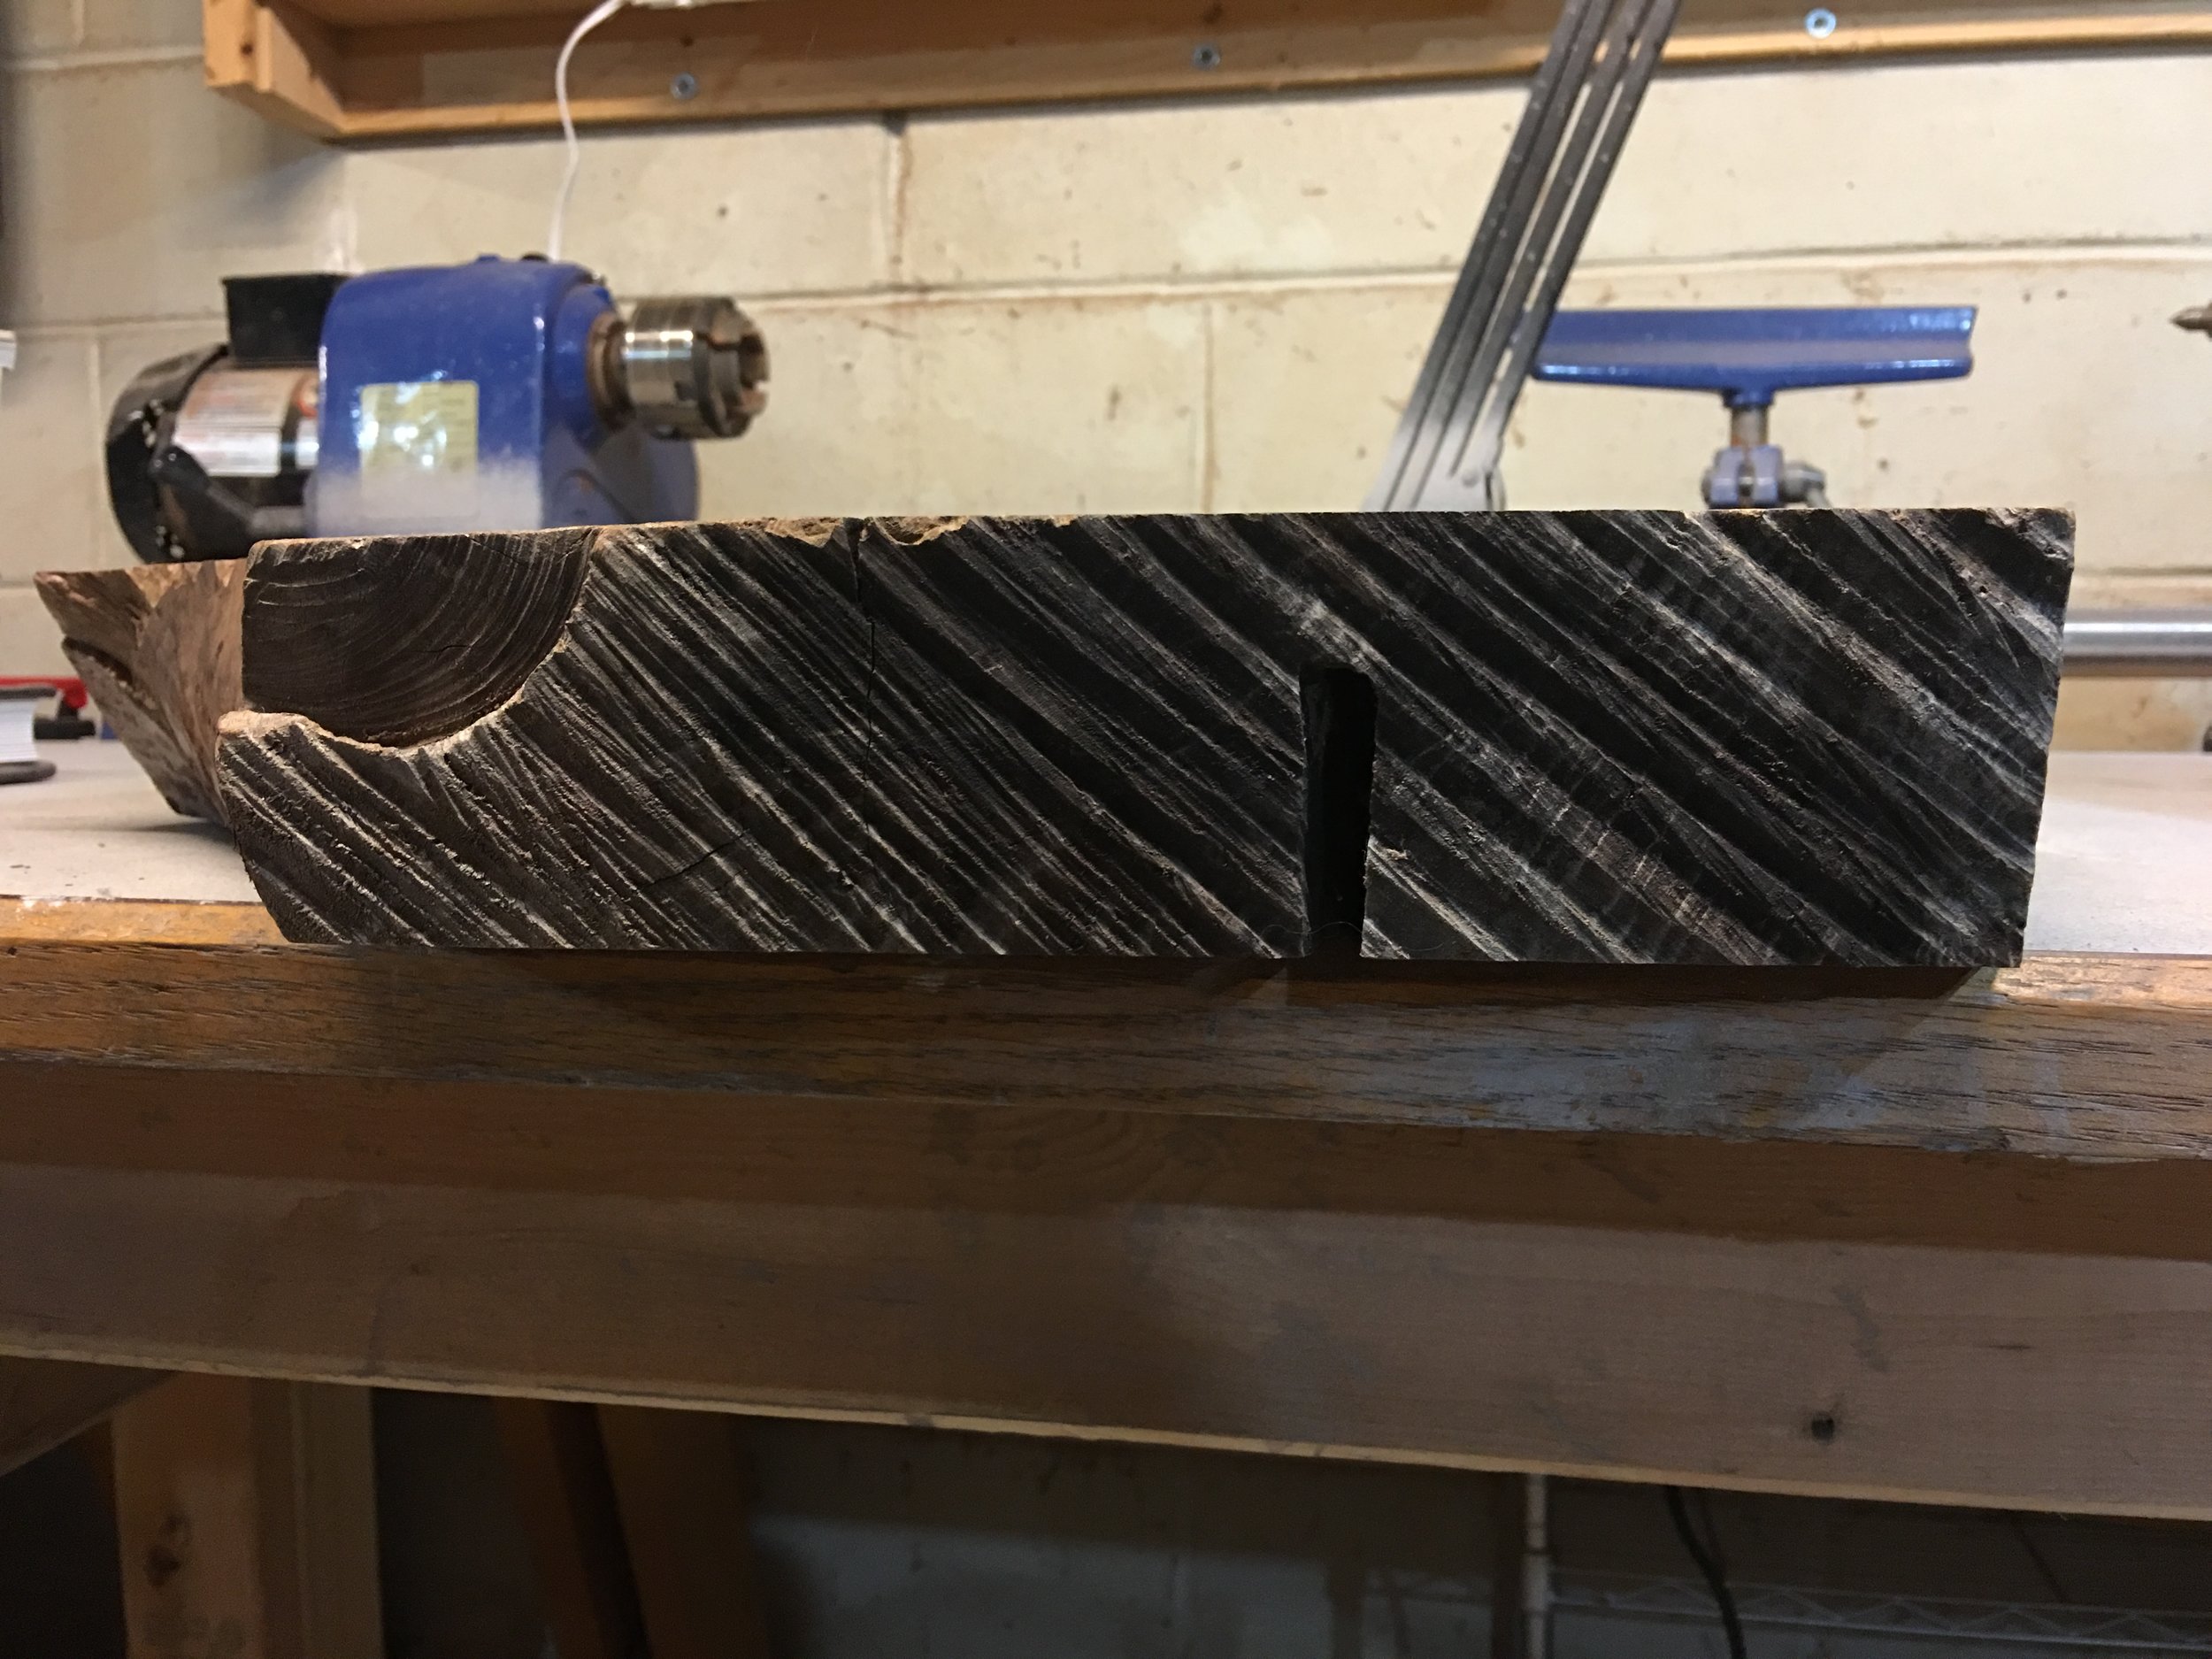
Because this "plinth" was going to have all of its wired concealed directly the solid-wood base, and because I wanted all of the motor connections to occur on the underside of the surface so there was no exposed, visible connections, the base needed to be elevated. I initially toyed with the idea of using 3d printed legs that I had designed, but decided against it given that the top was already so dominantly sculptural. Instead, I chose some 1/4" steel barstock as the material for the legs, and cut three triangular legs for the base, seen below.

I then routed out slots for the steel legs and marked out approximately where the wiring would go for the tonearm and electronics.

Below are a few shots of the finishing process. I started by flooding the surface with several coats of boiled linseed oil, and after a week of letting that dry I applied a french polish to the top surface to bring out the gloss and sheen in the wood.

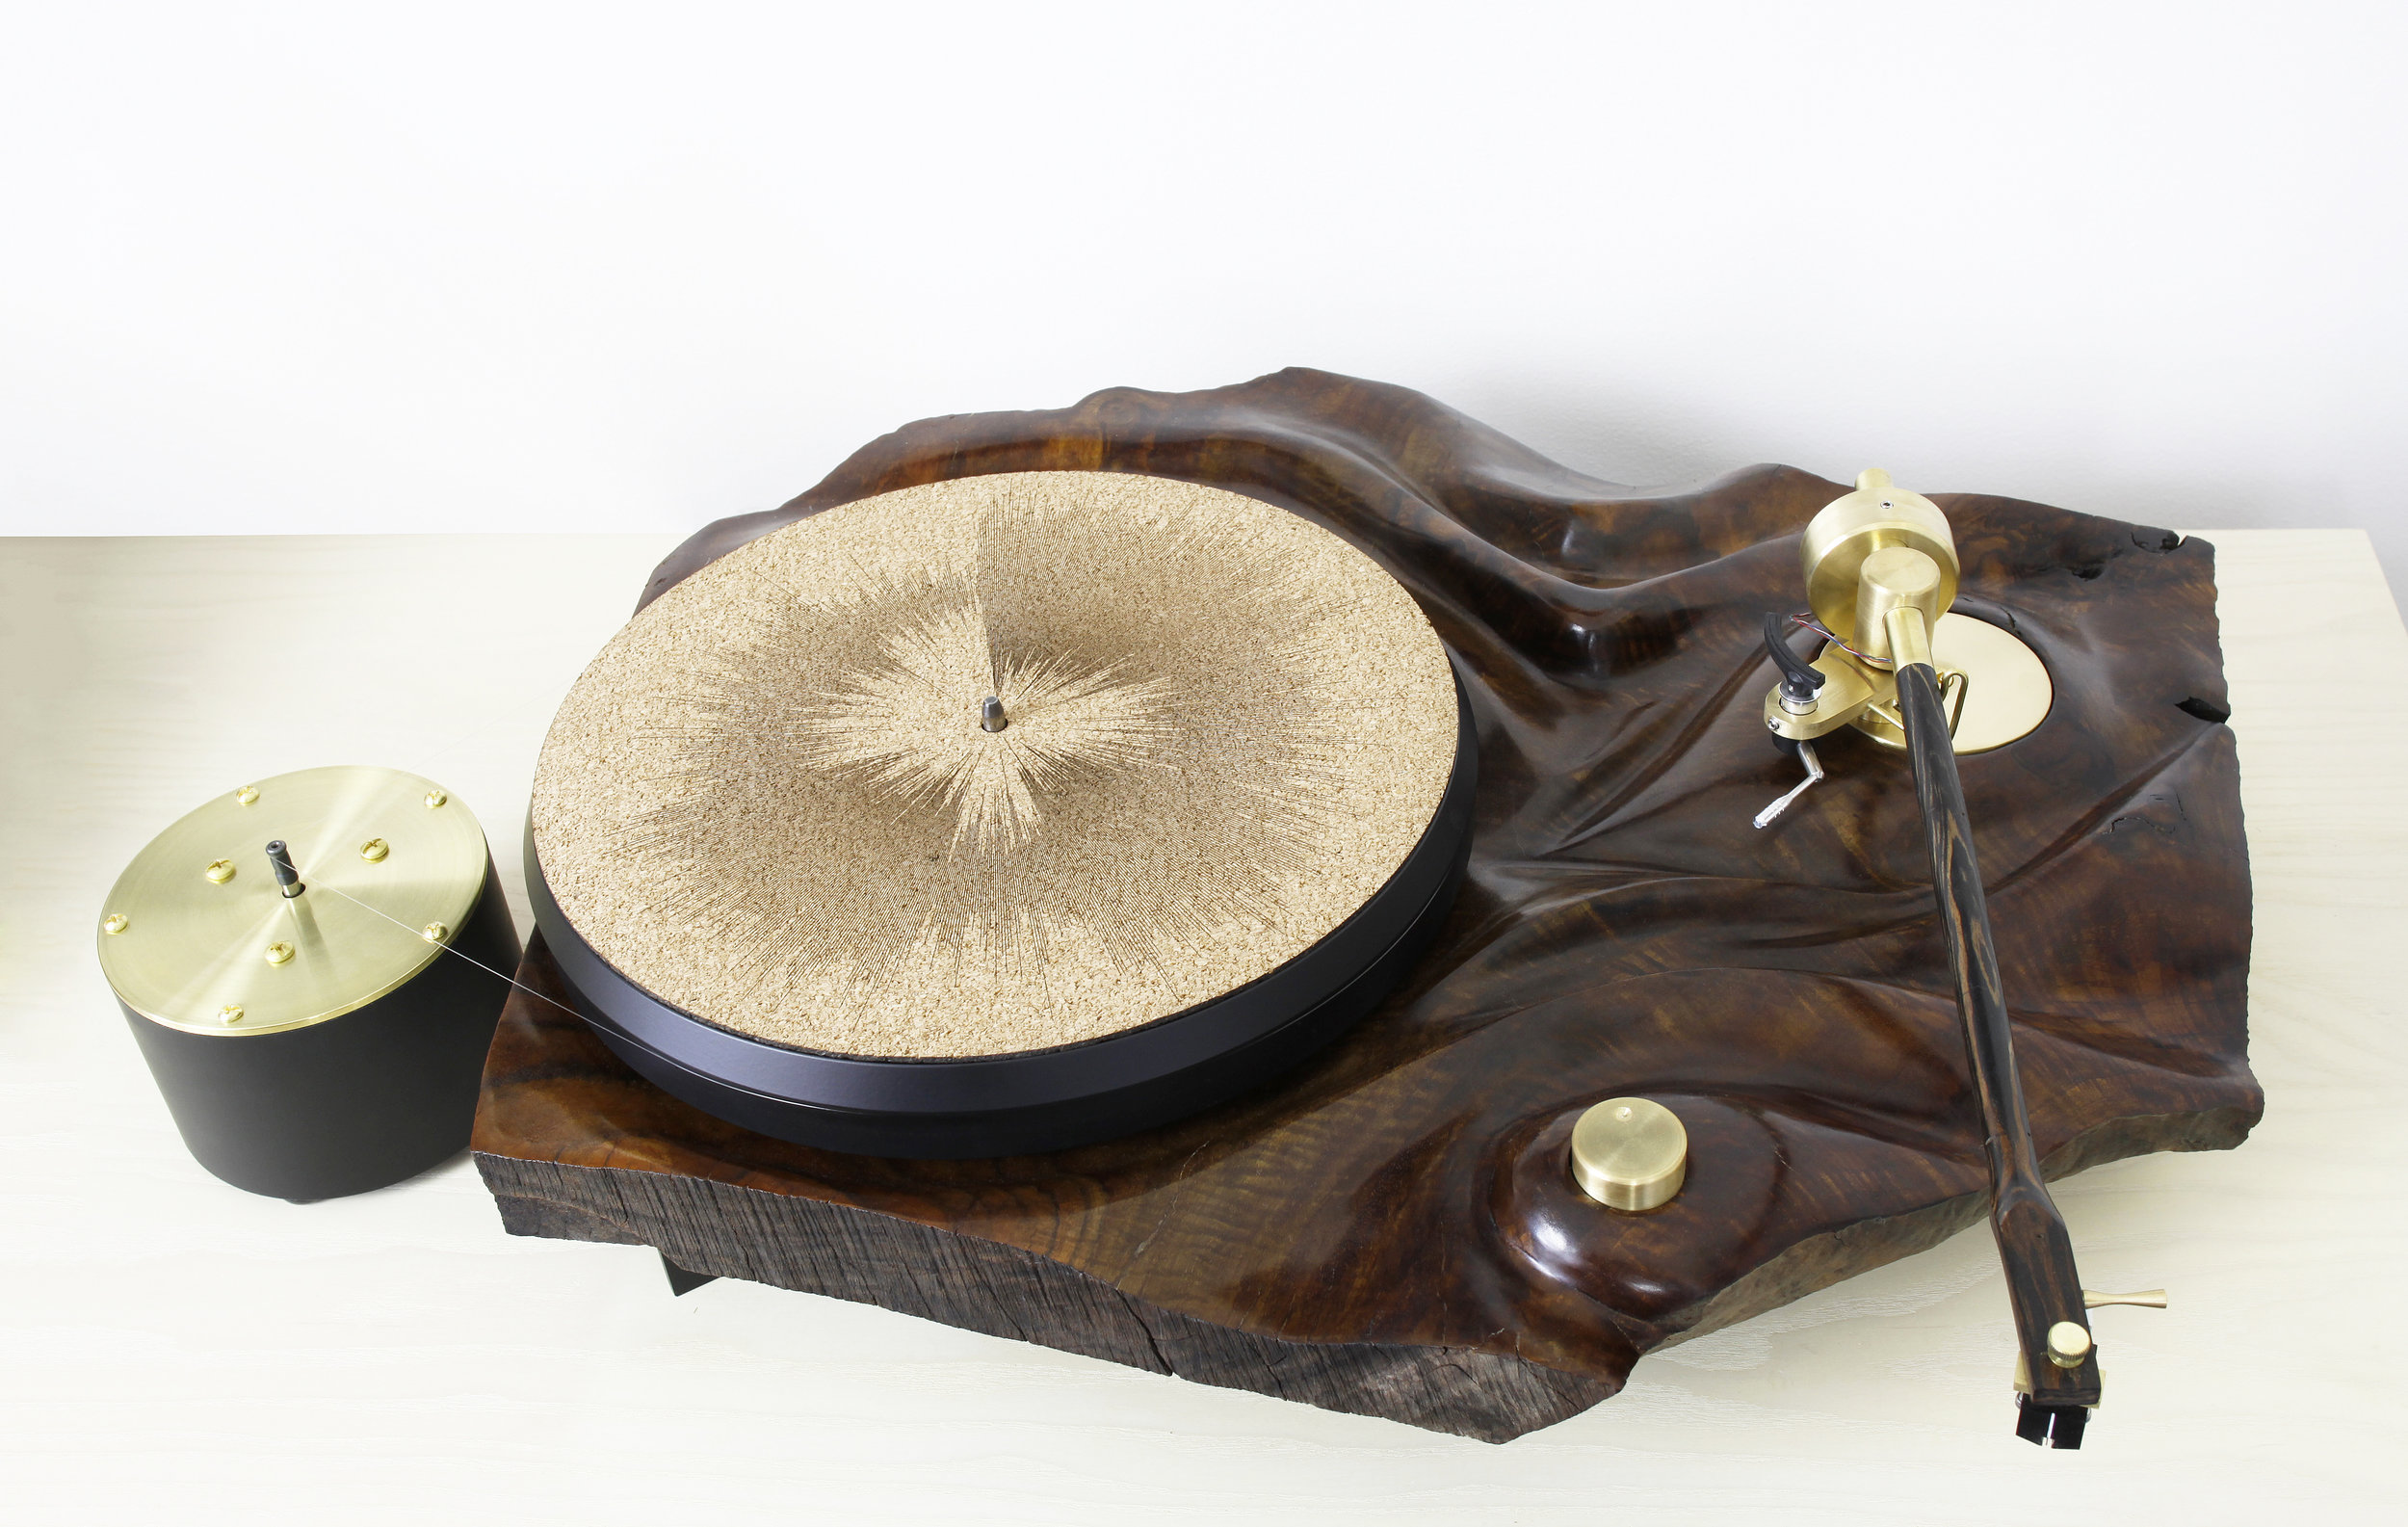
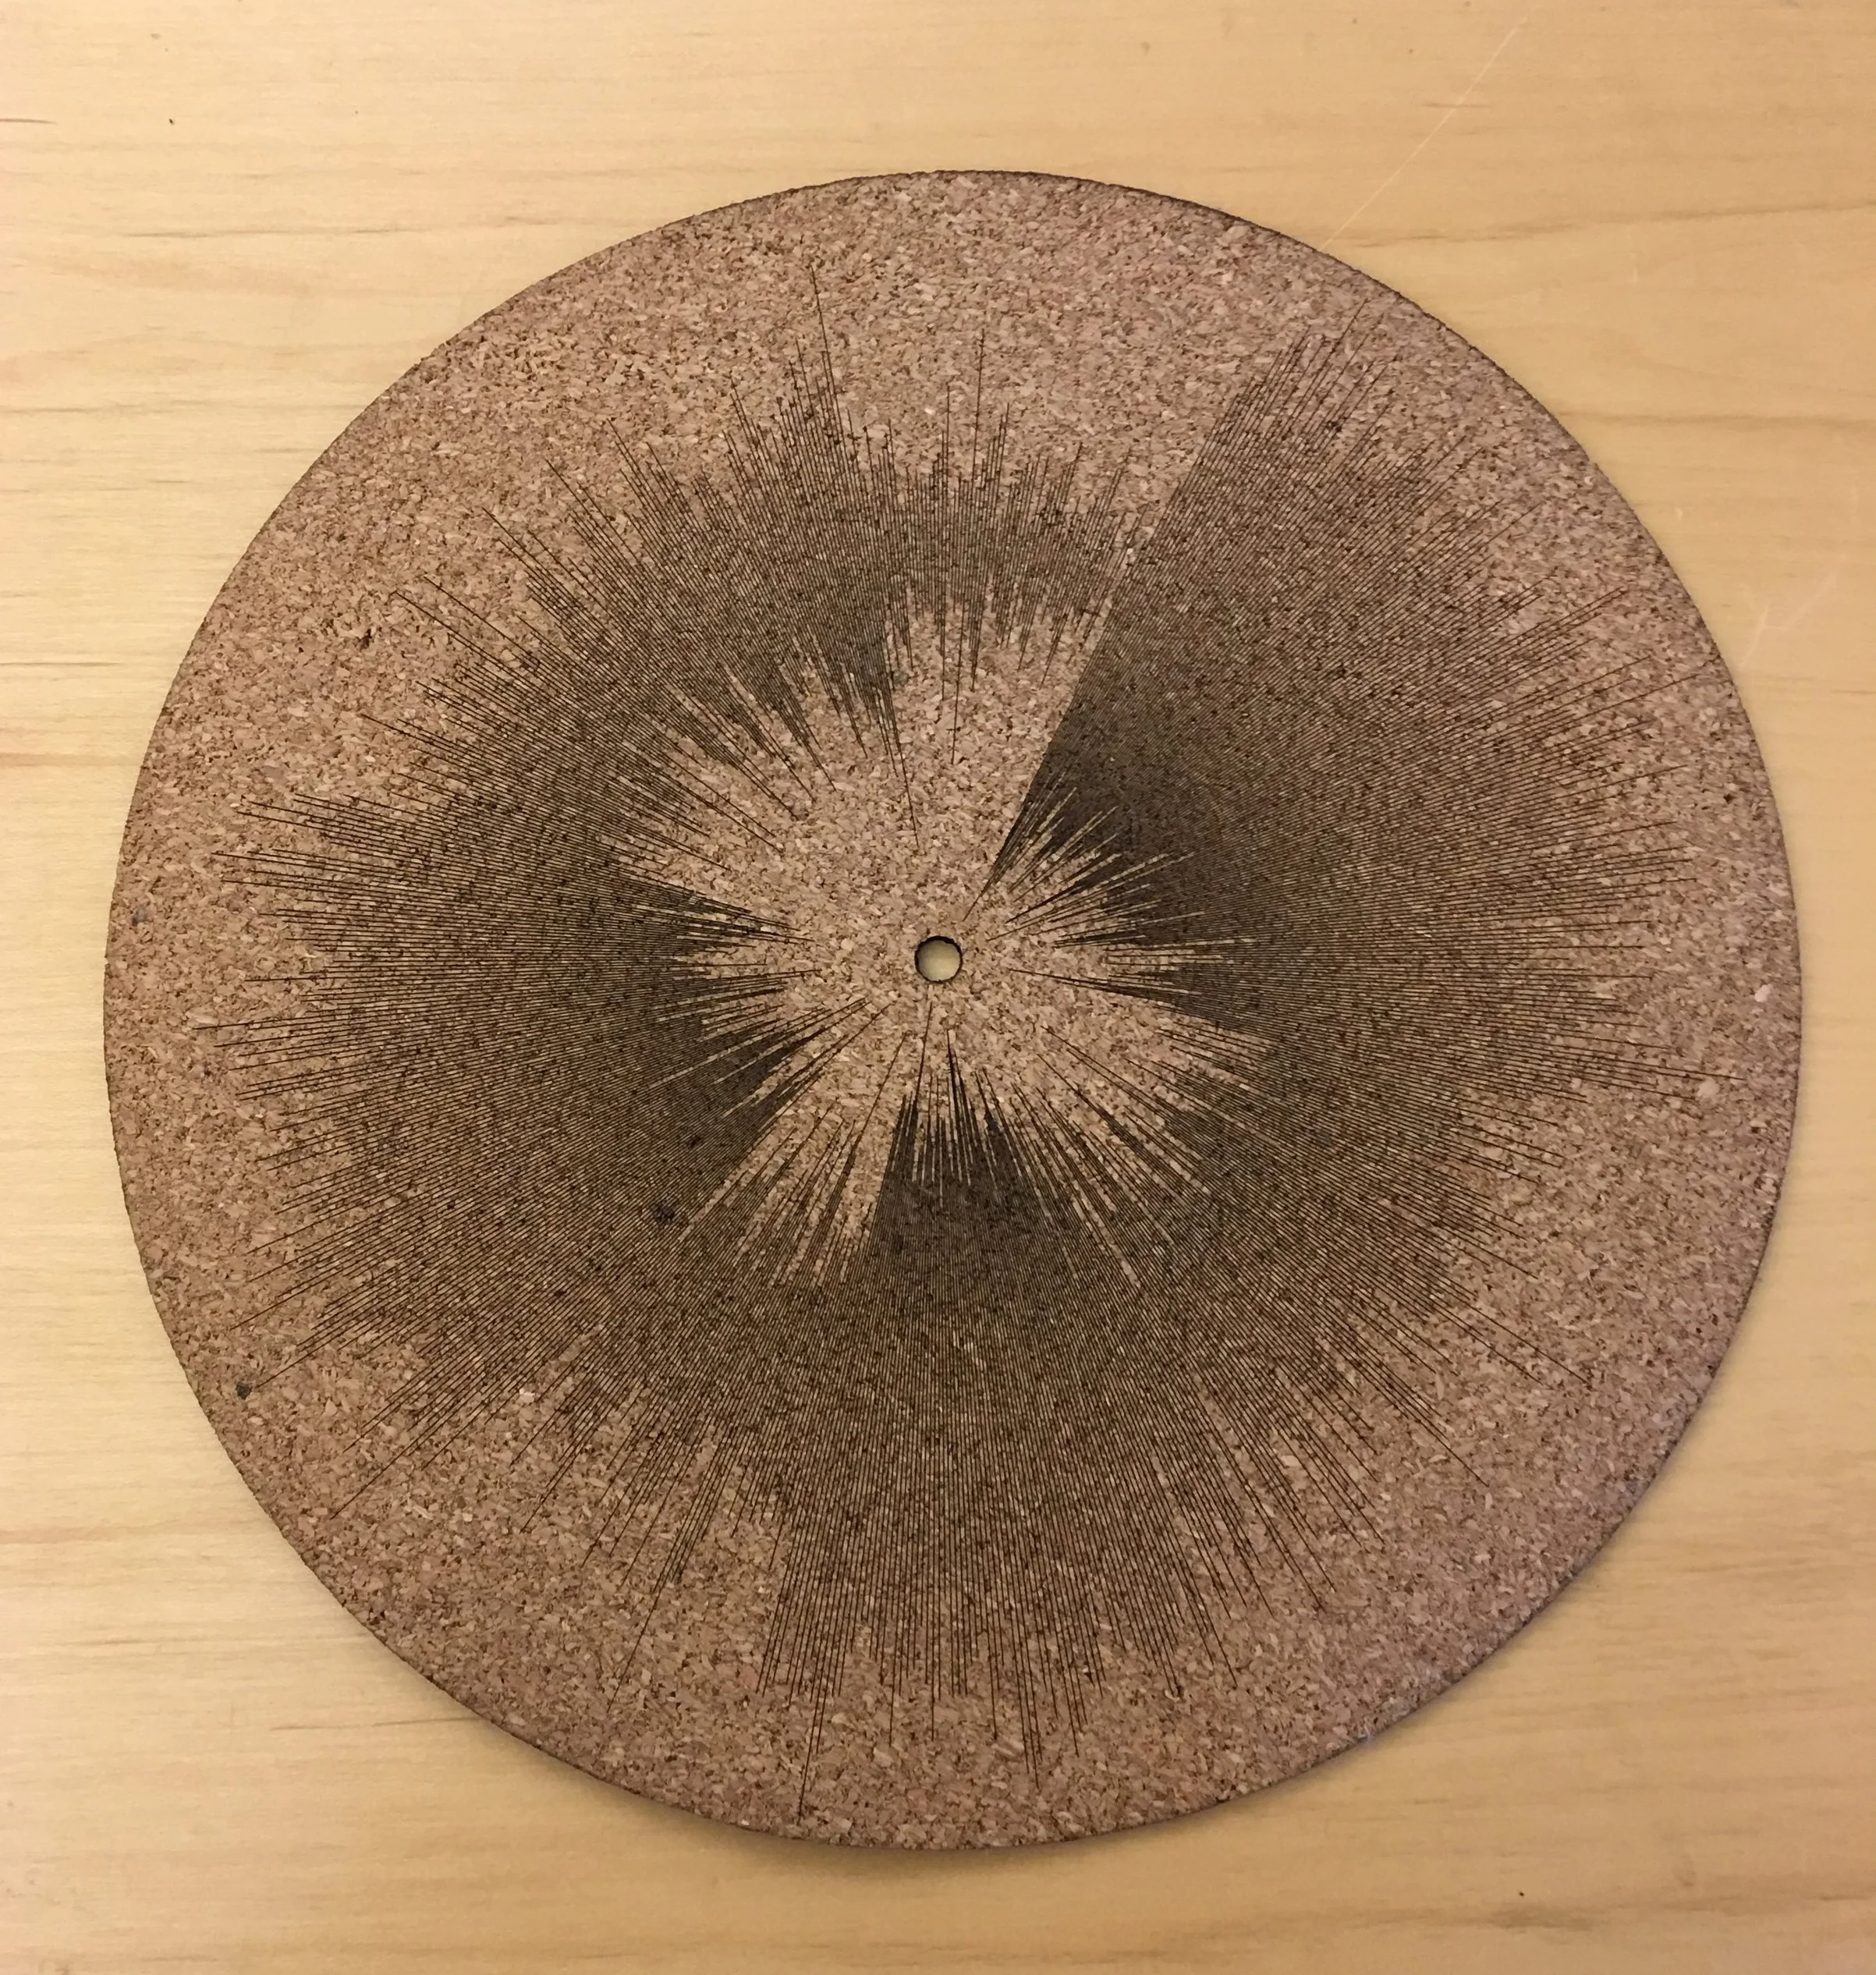
A bit of a detour here, but one of my dad's favorite songs is Bell Bottom Blues by Derick and the Domino's. I wanted to personalize the turntable - so I found a way to graphically translate the song into linework using Grasshopper, a parametric plugin for the 3d modelling program Rhino, and then laser cut the graphic onto a cork platter mat.
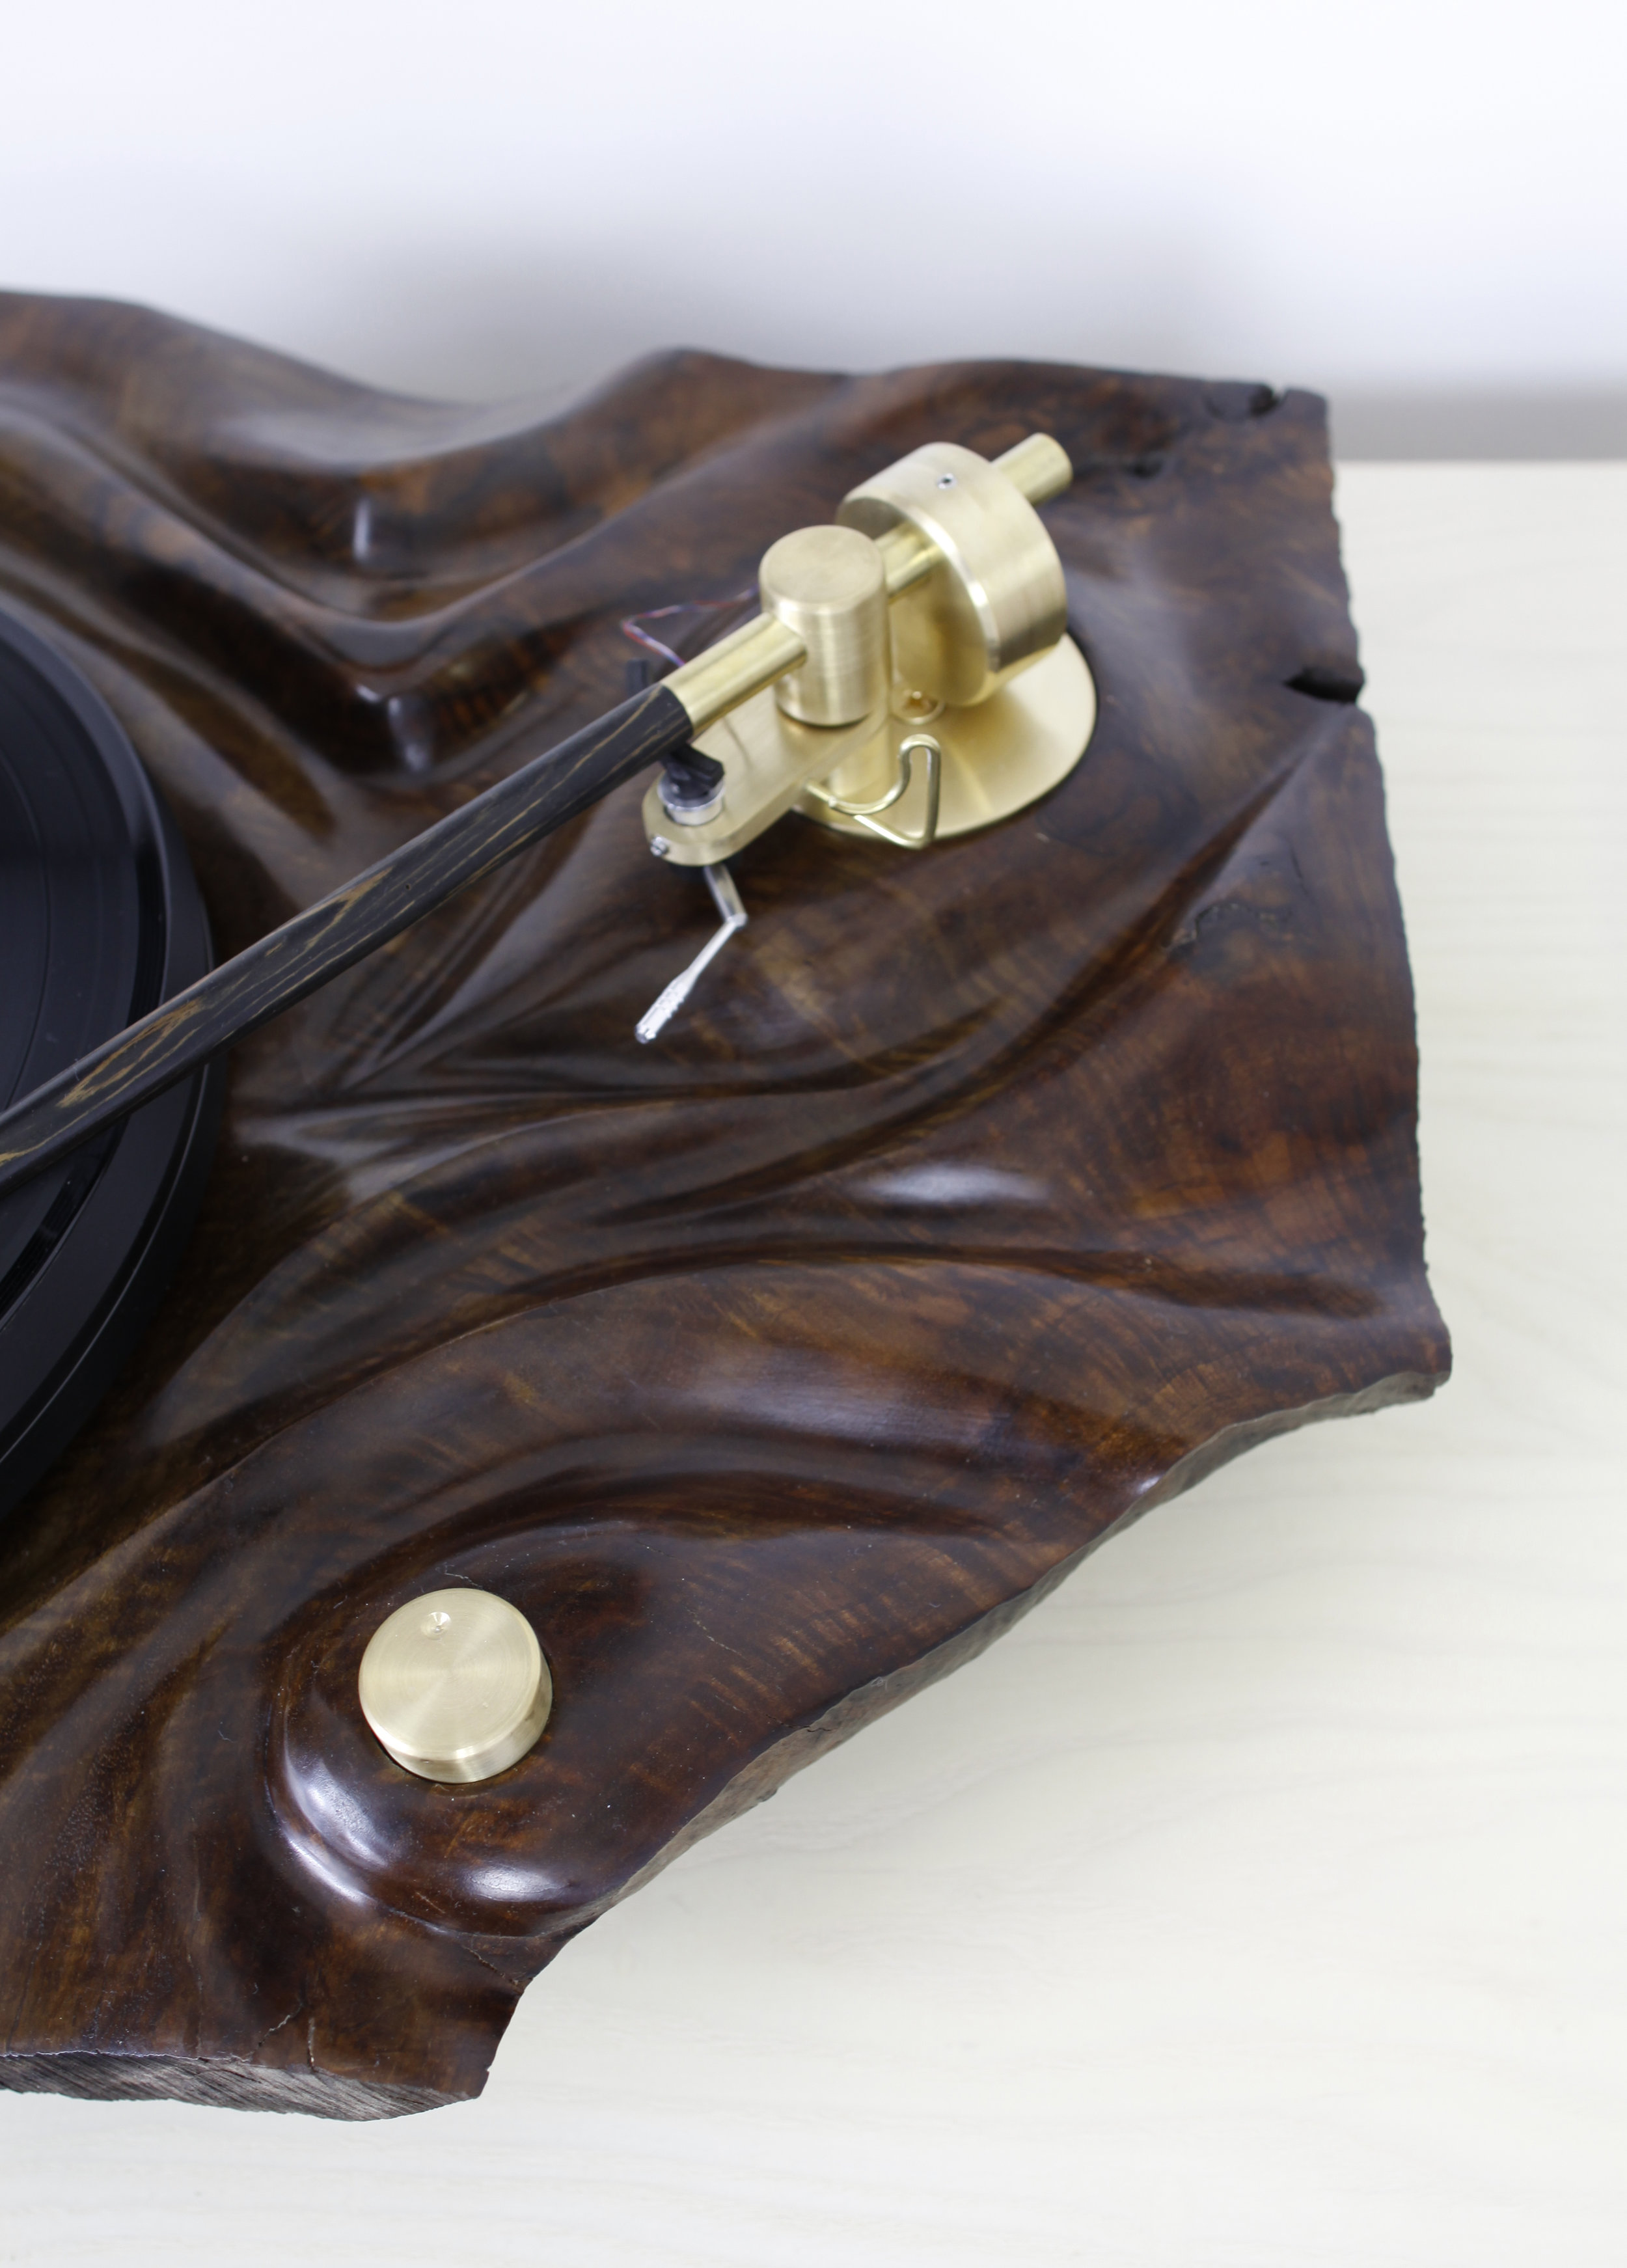
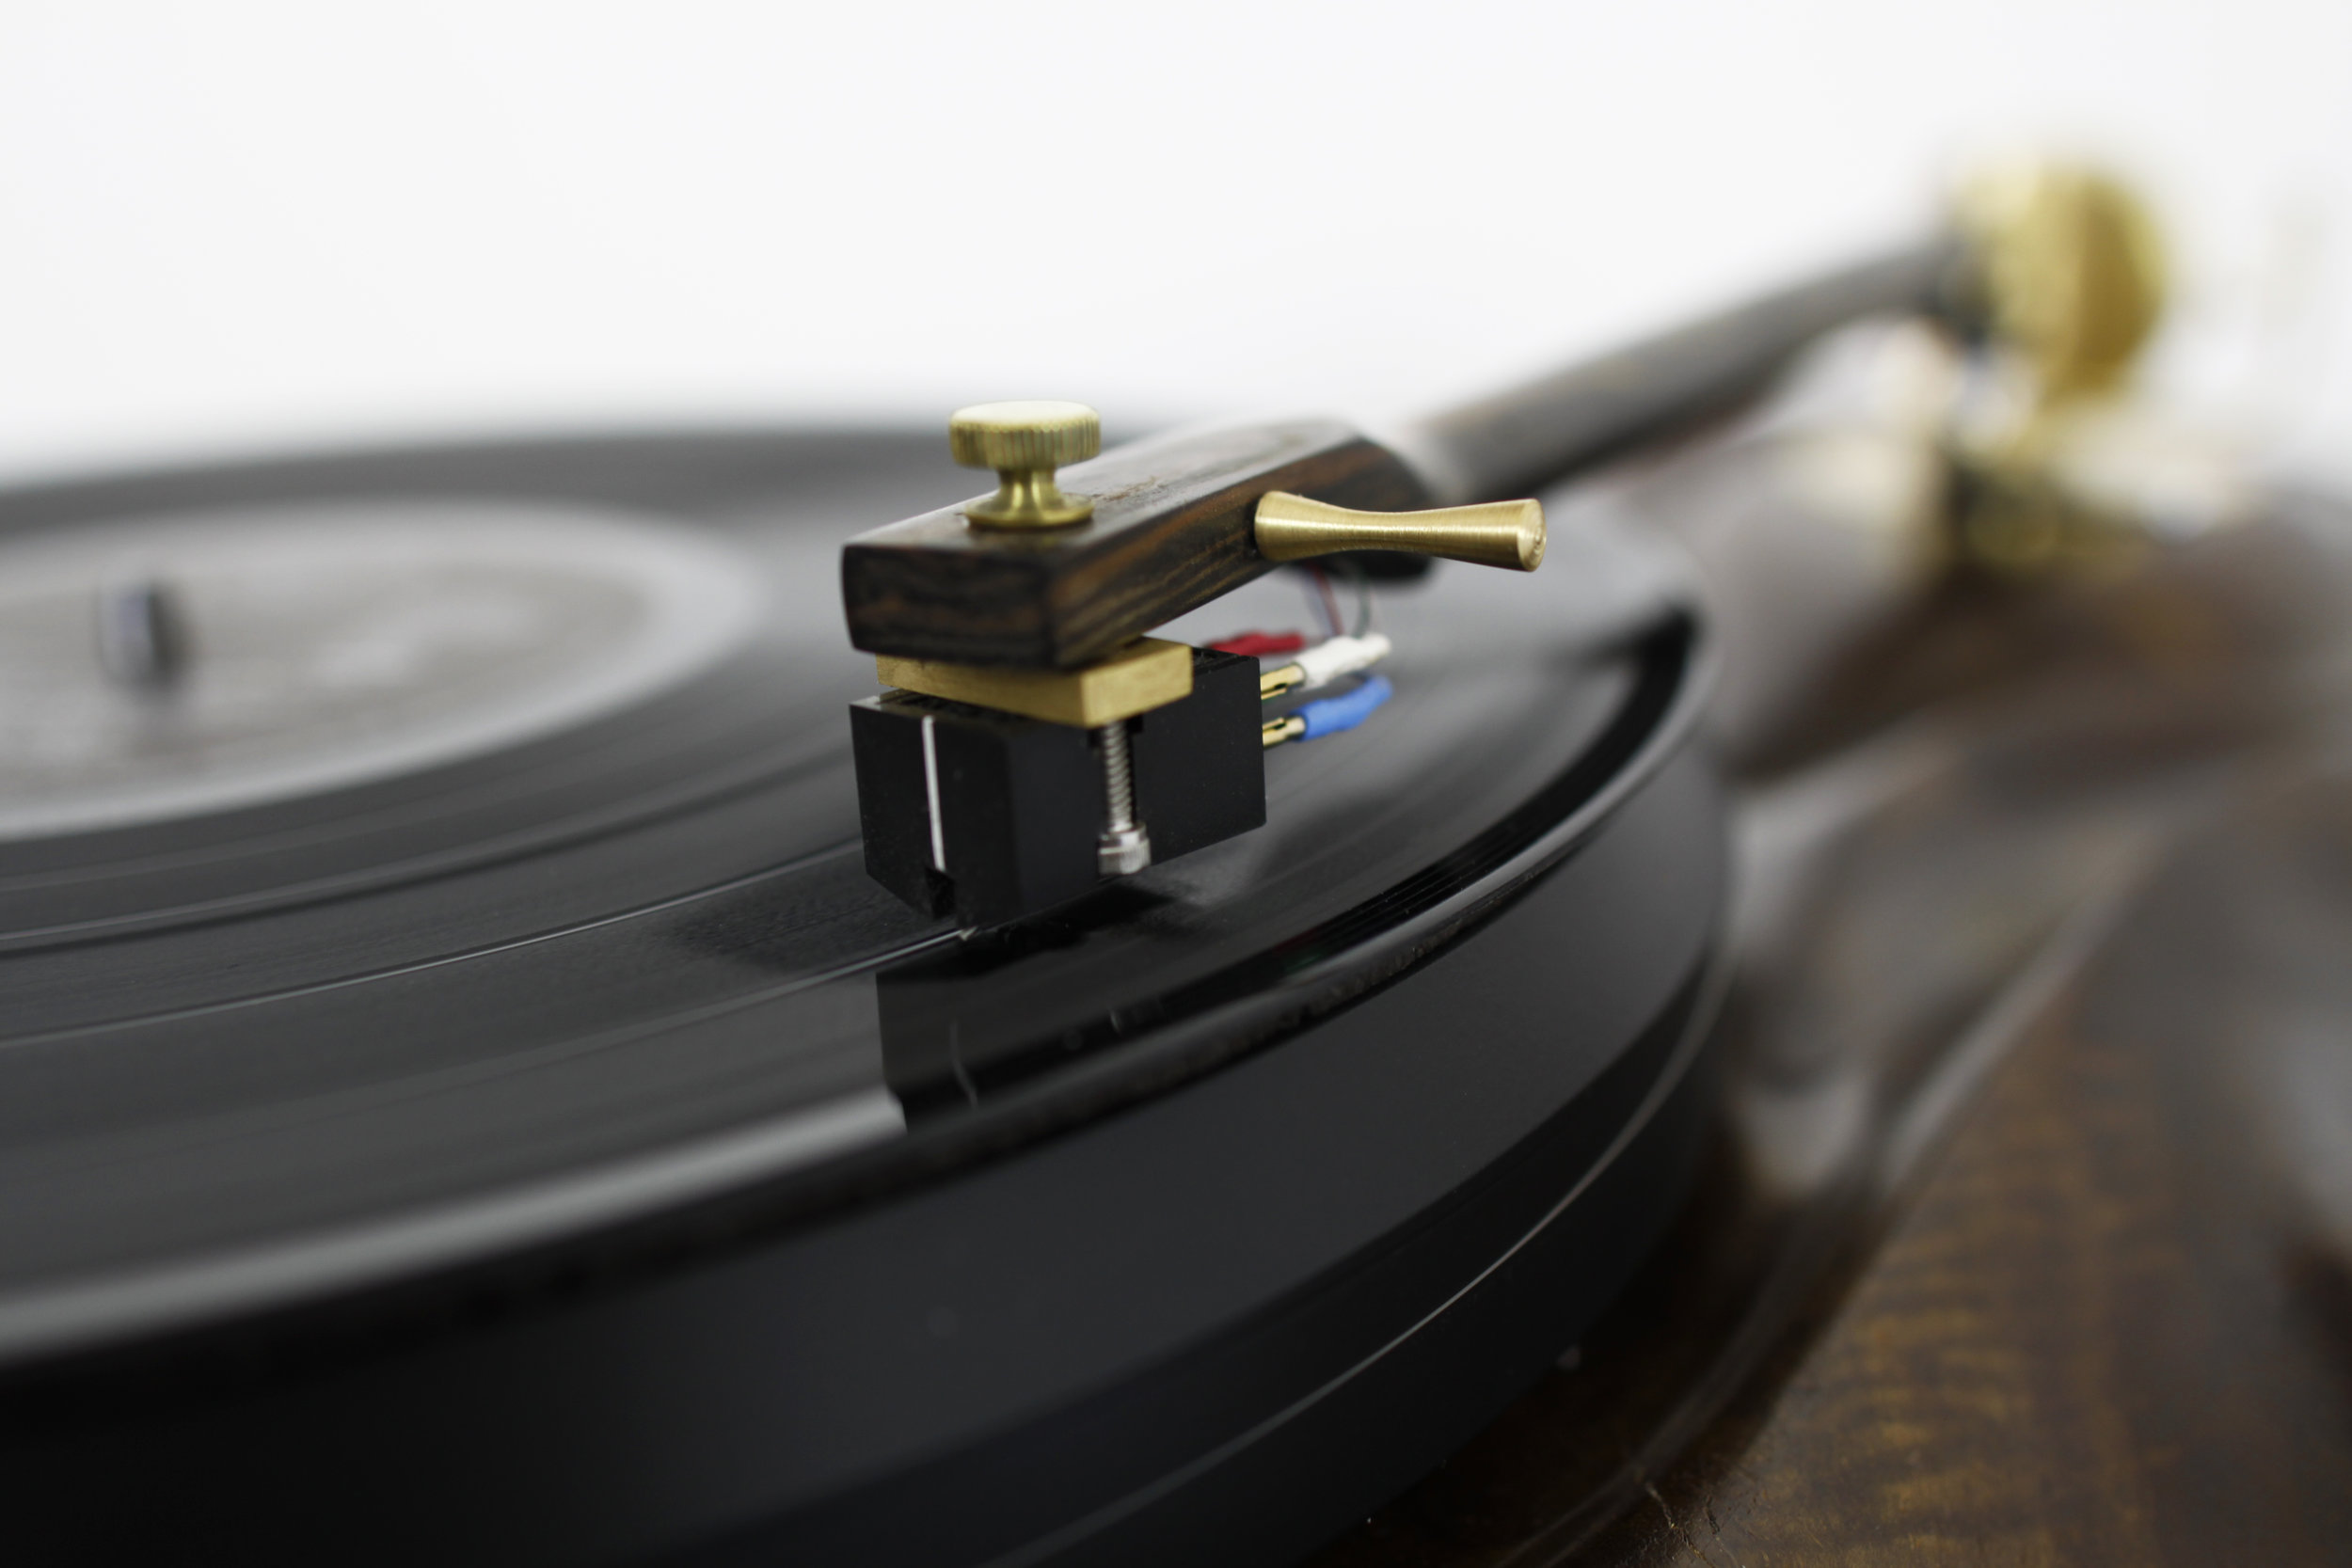
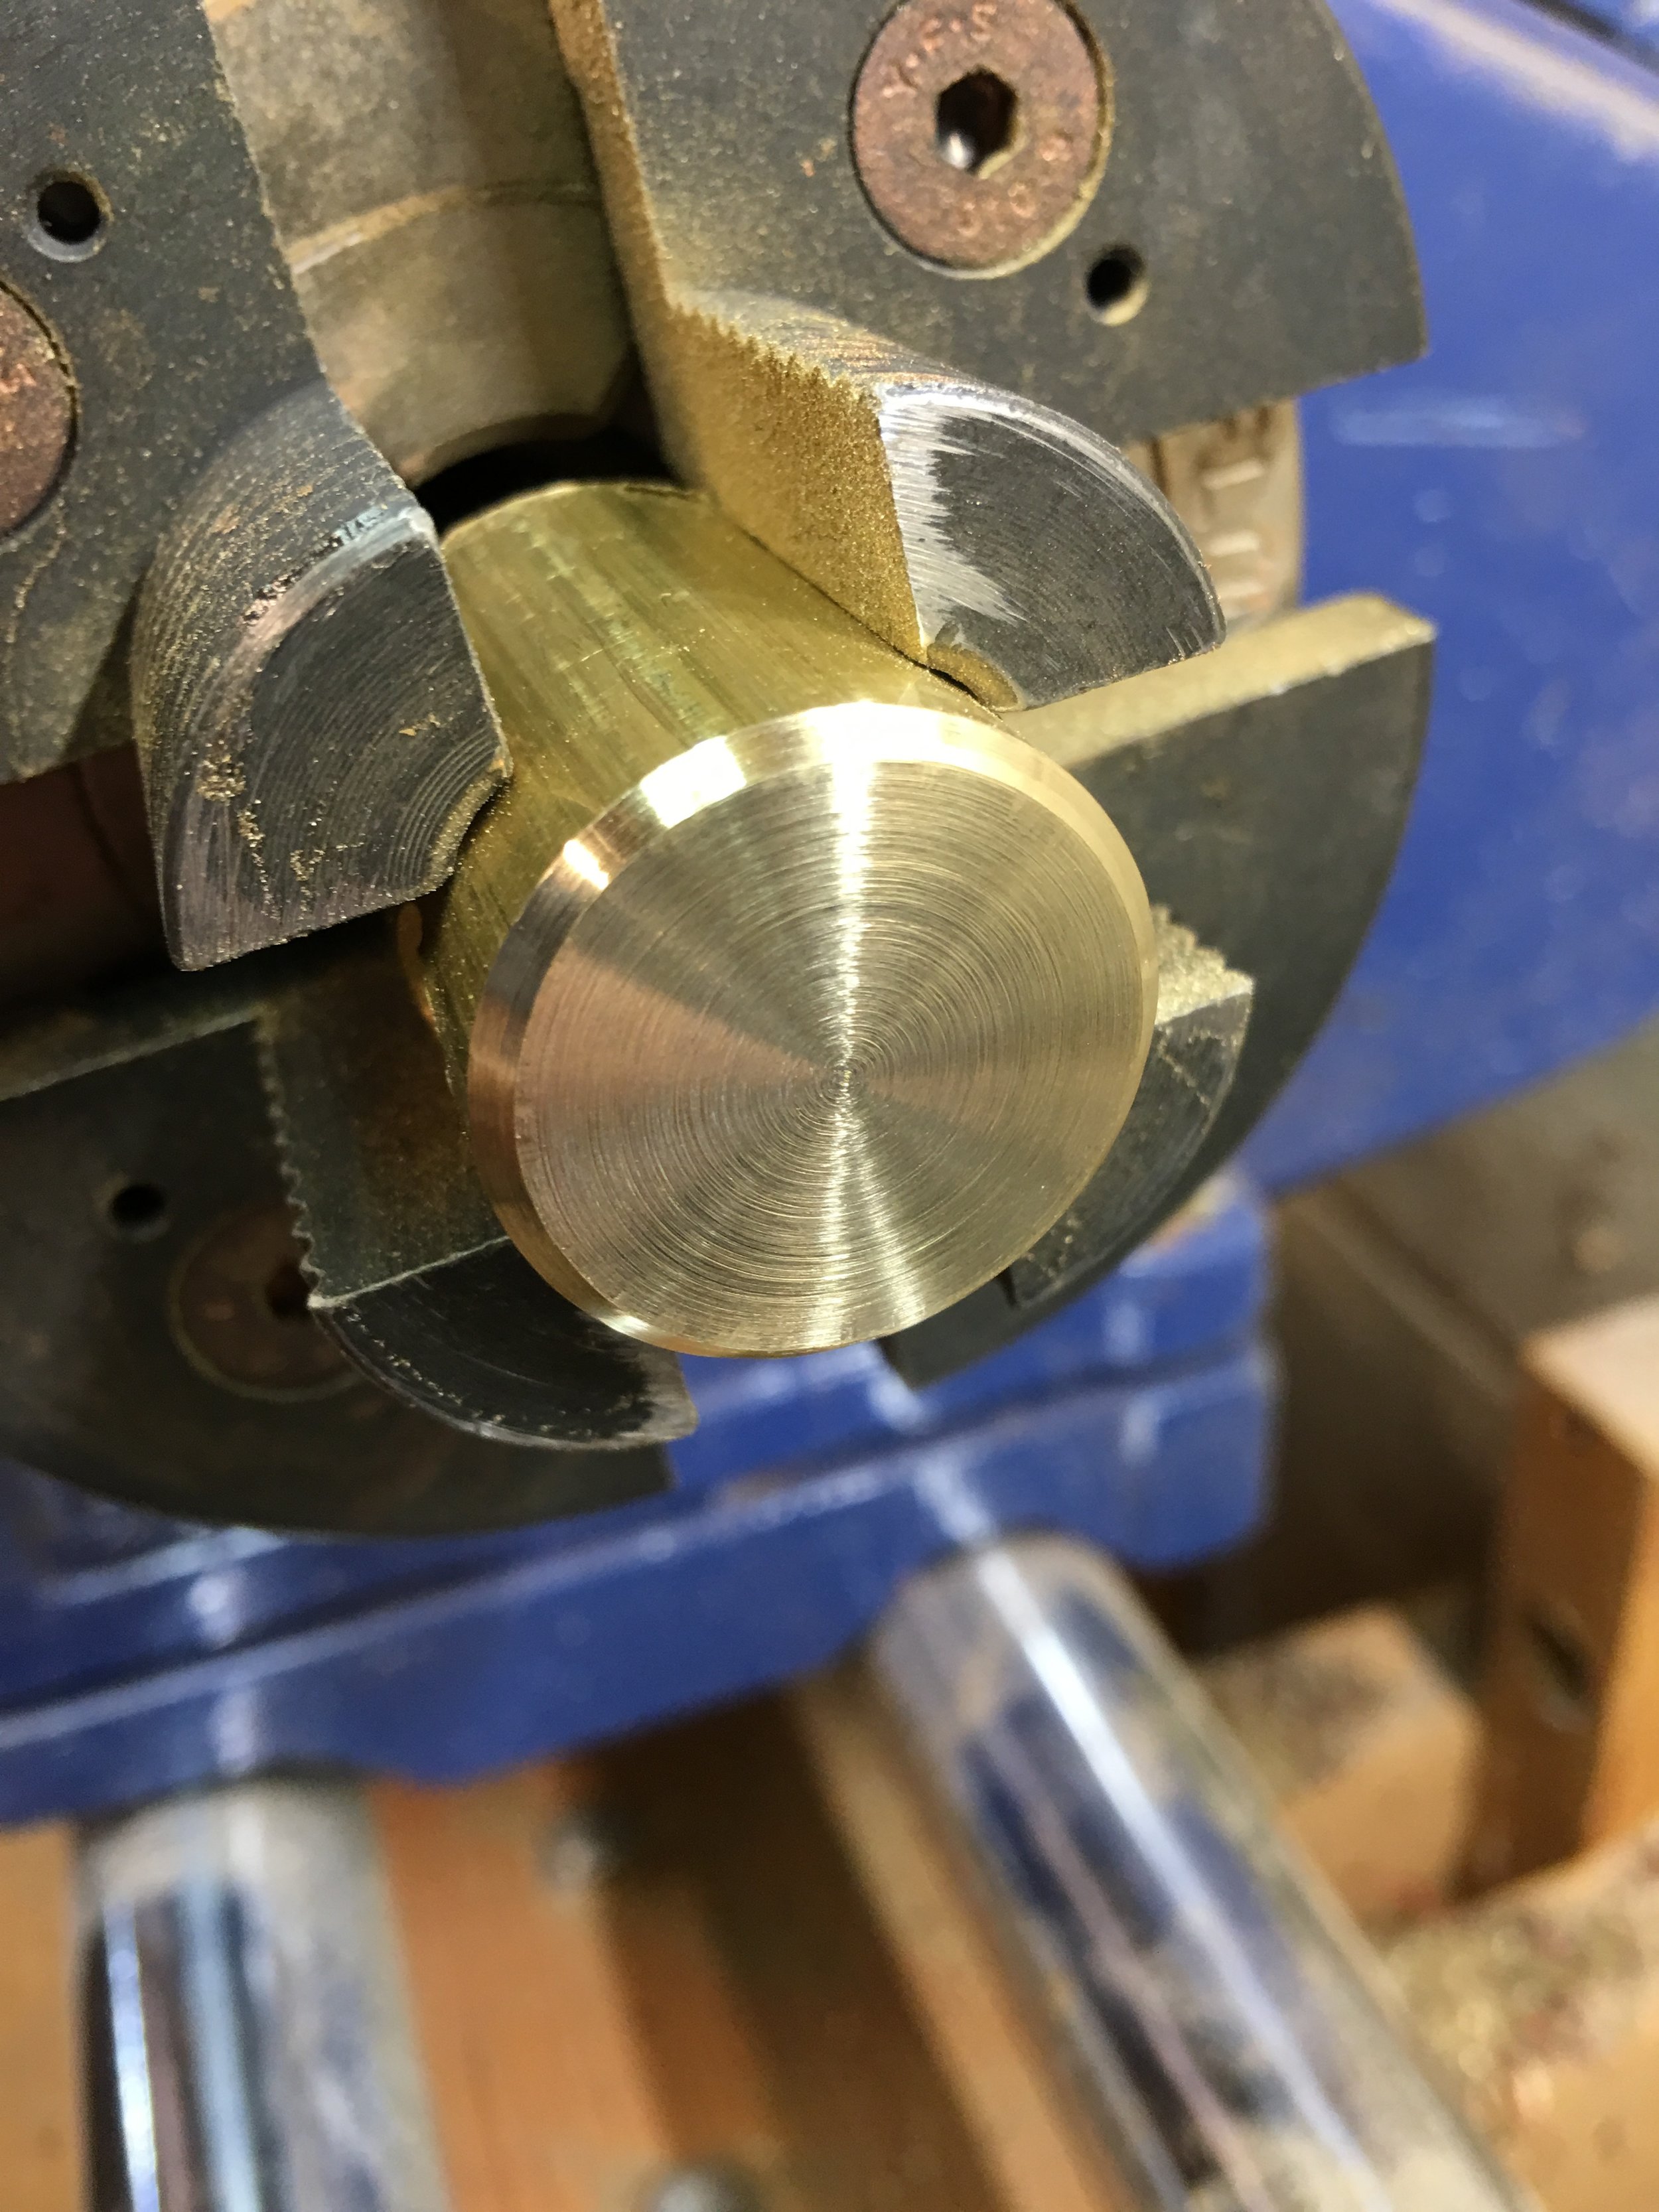
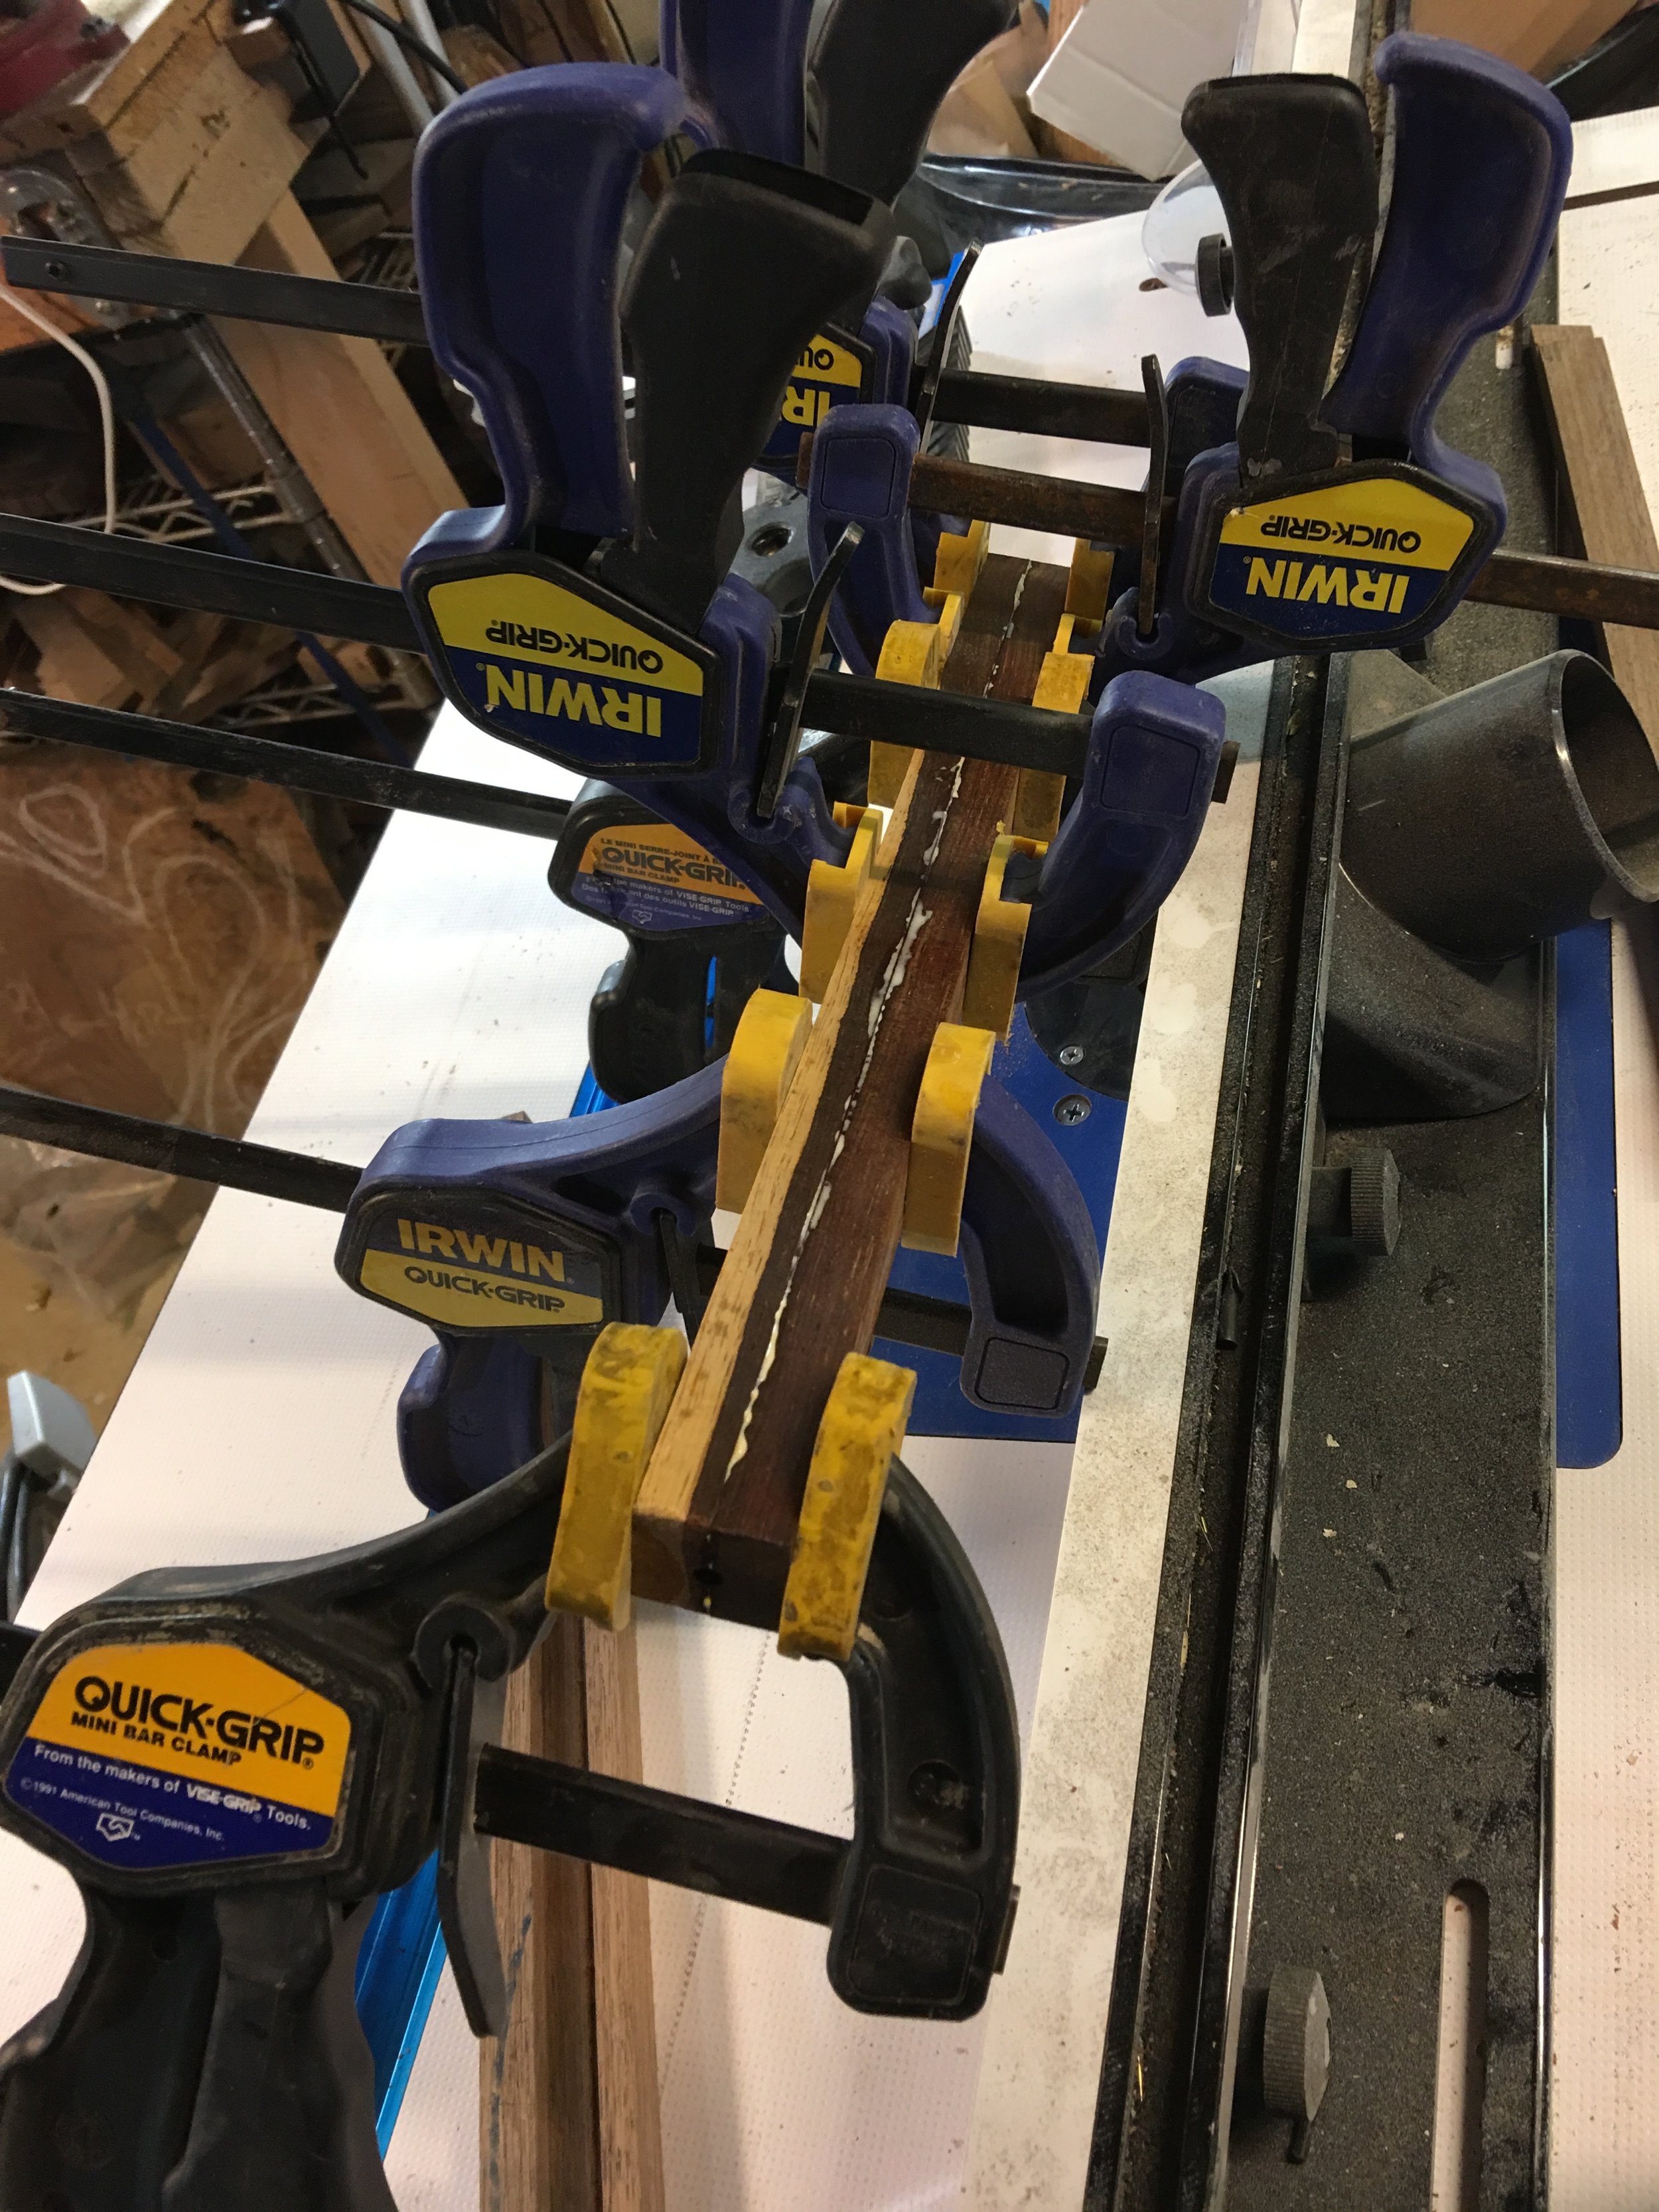
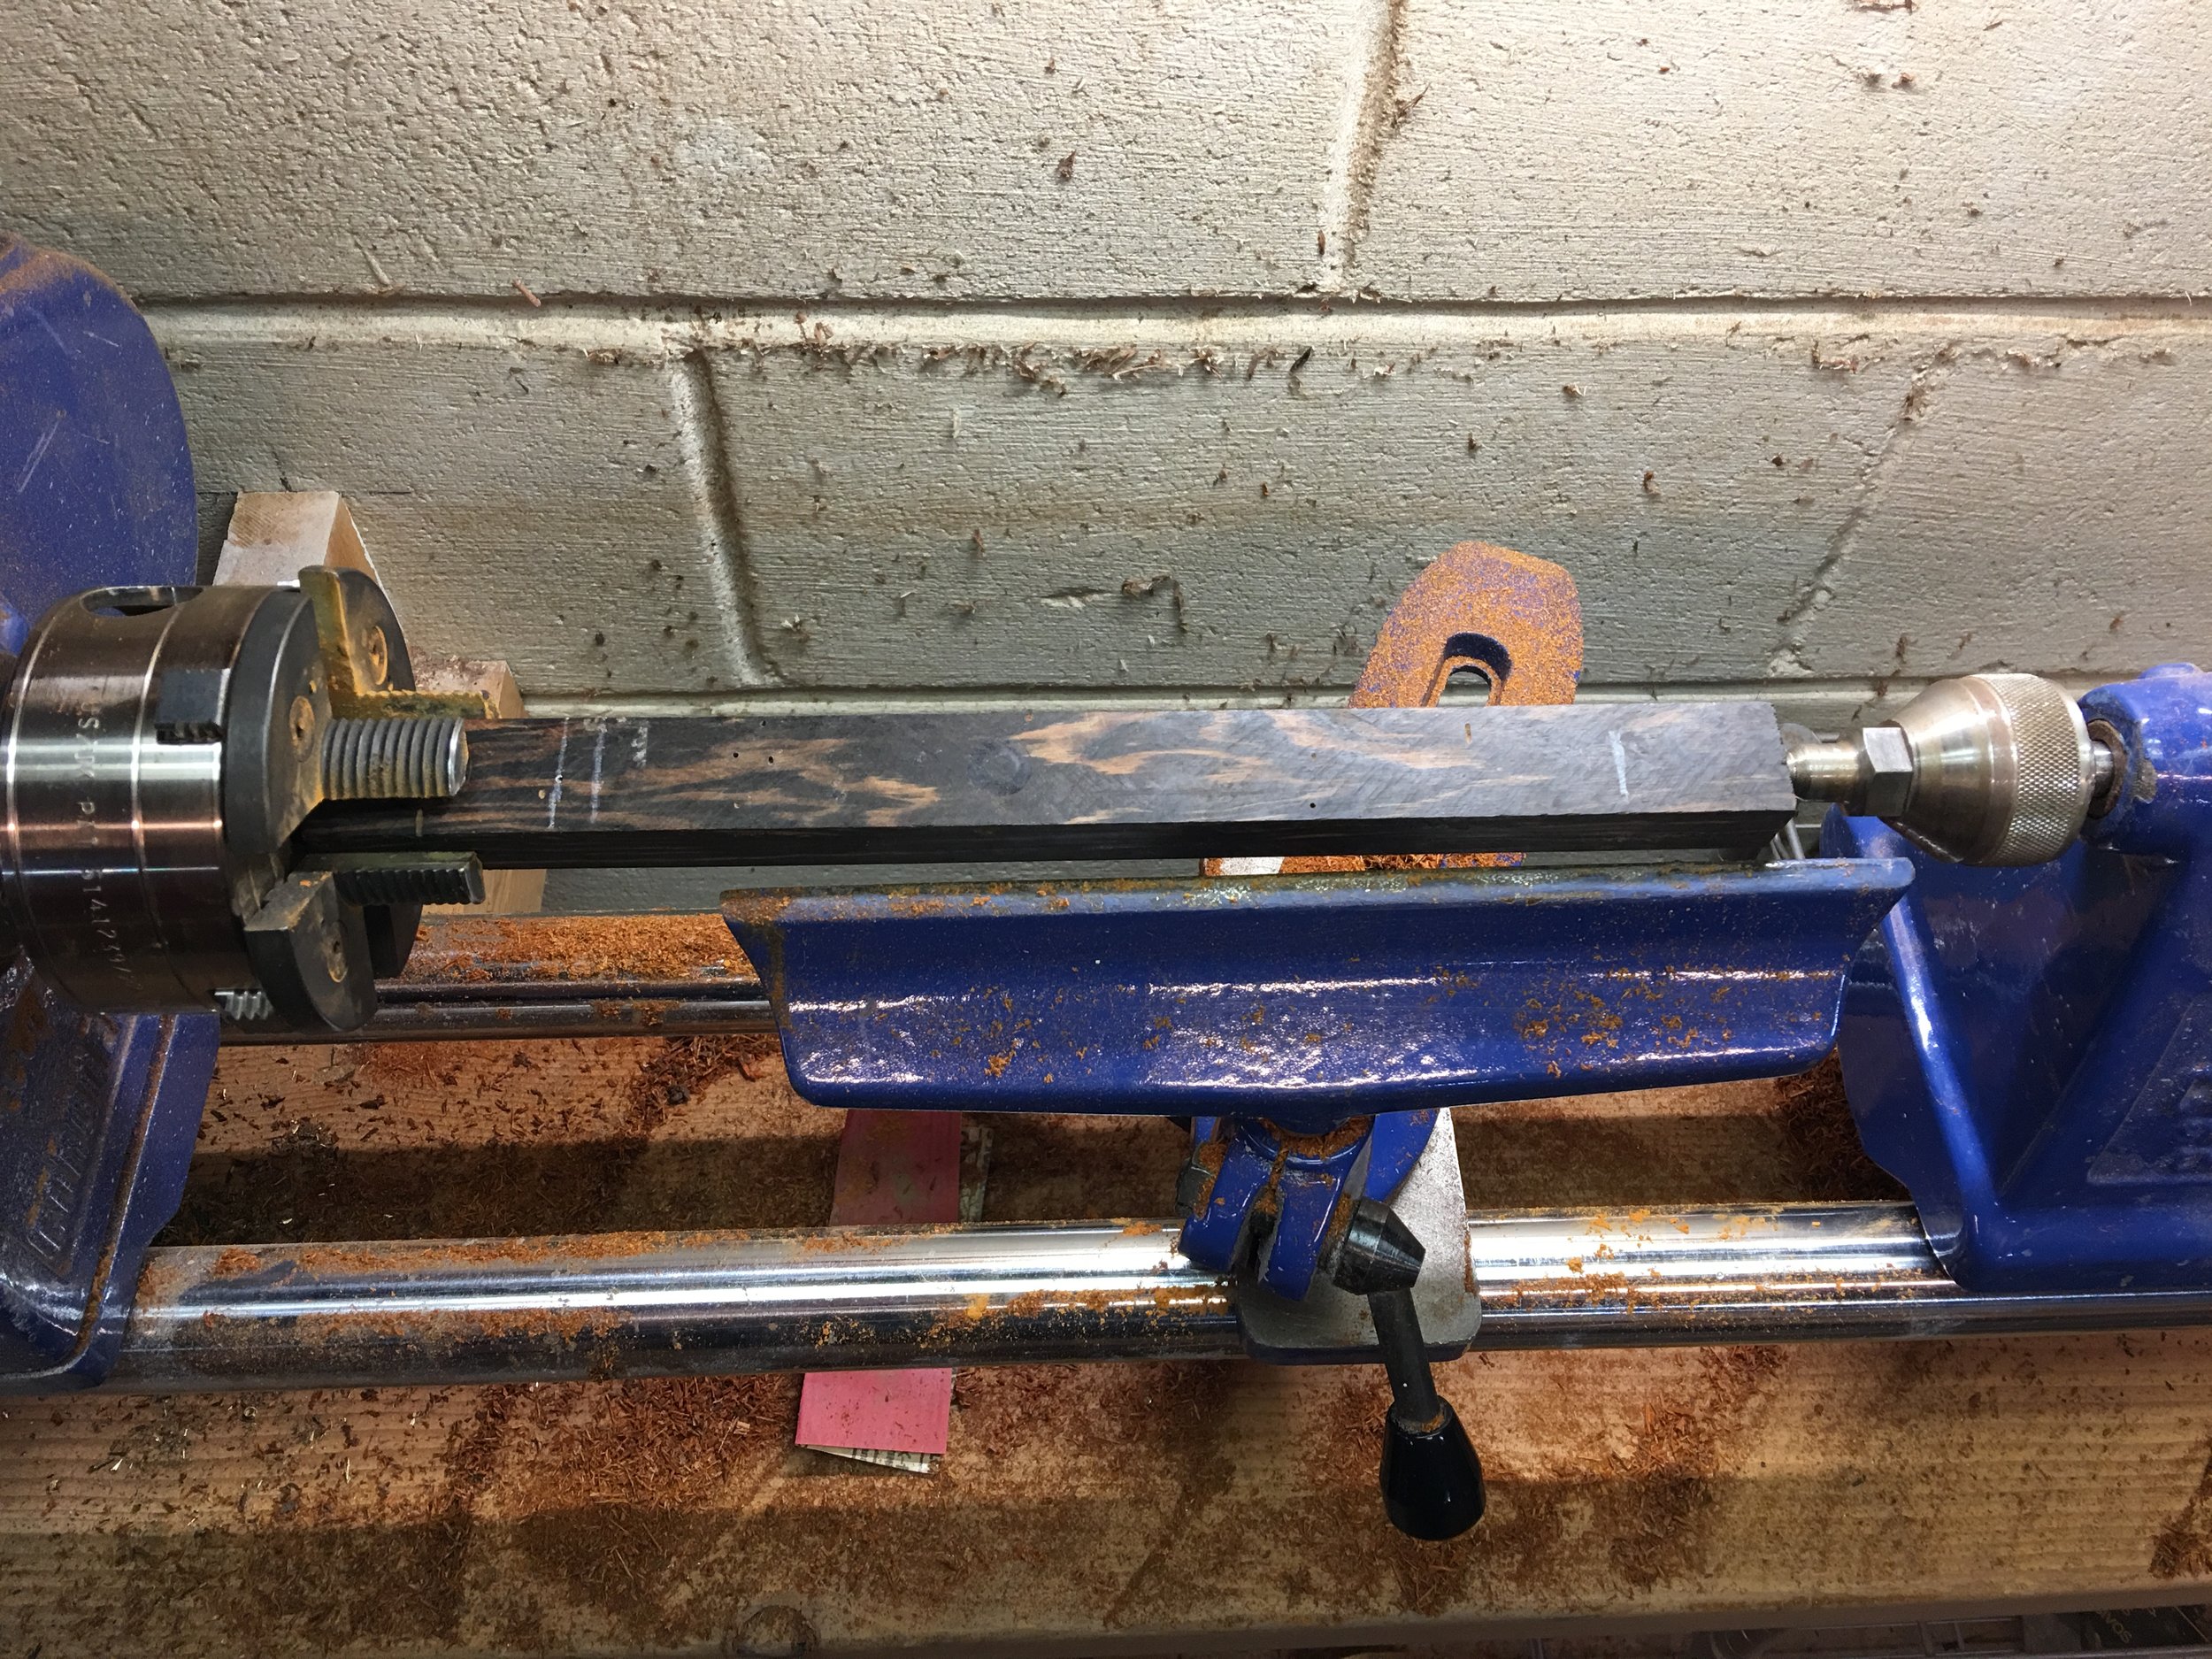
Below are a couple pictures of the tonearm fabrication, which is made of brass, stainless and striped Ebony. The tonearm is a unipivot design with a ruby vee jewel bearing and stainless pivot, damped by synthetic grease. Overhang adjustment is done through rotation of a circular brass plate where the tonarm is attached to the wood, which allows for a tonearm length variance of about 3". This tonearm has an effective length of 12".


The construction of the motor pod is pictured below. The base is a heavy steel DOM tube, which was drilled and tapped to accept a brass plate on top. The motor is attached to the brass plate with a rubber buffer to reduce vibration, and the entire pod sits on sorbothane semi-spheres to virtually eliminate any vibration to the surface it sits upon.


Some pictures of assembly, wiring and testing. After a just a couple of mishaps, Layla played her first record - Led Zeppelin's IV - in my basement workshop.


Finally, the finished product assembled and playing some tunes.